Overview
With our User, Host, and Guest types all squared away, let's make sure we have entry points into the accounts subgraph. These are the fields under Query and Mutation that are related to user accounts. In this lesson, we will:
- Migrate over the user-related
QueryandMutationfields to theaccountssubgraph. - Move the relevant resolvers over to the
accountssubgraph. - Wrap up the course!
✏️ Entry points to the accounts subgraph
There are fields under the root Query we'll want the accounts subgraph to handle: user and me.
To do this, we'll cut and paste those two field definitions from the monolith subgraph, over to the accounts subgraph.
Note: If you chose to duplicate the subgraph-template files, you can also remove the placeholder example field.
type Query {user(id: ID!): User"Currently logged-in user"me: User!}
You've read this instruction multiple times by now: make sure these fields are removed from the monolith subgraph schema. (Remember that leaving a field defined in more than one subgraph without specifiying the @shareable directive can result in an INVALID_FIELD_SHARING composition error!)
type Query {- user(id: ID!): User- "Currently logged-in user"- me: User!# ... other query fields}

The last chunk left to move over to the accounts subgraph is the updateProfile mutation and all its corresponding types and fields.
✏️ Moving over the updateProfile mutation
Let's move the
updateProfilemutation to theaccountssubgraph.subgraph-accounts/schema.graphqltype Mutation {"Updates the logged-in user's profile information"updateProfile(updateProfileInput: UpdateProfileInput): UpdateProfileResponse!}Remove the
updateProfilefield from theMutationtype from themonolithsubgraph. The rest of the mutations can stay!The
updateProfilemutation references two other types: theUpdateProfileInputtype and theUpdateProfileResponsetype, so we'll need to move those over as well.subgraph-accounts/schema.graphqlinput UpdateProfileInput {"The user's first and last name"name: String"The user's profile photo URL"profilePicture: String"The host's profile bio description, will be shown in the listing"profileDescription: String}type UpdateProfileResponse implements MutationResponse {"Similar to HTTP status code, represents the status of the mutation"code: Int!"Indicates whether the mutation was successful"success: Boolean!"Human-readable message for the UI"message: String!"Updated user"user: User}Make sure these types are removed from the
monolithschema.One last thing! The
UpdateProfileResponsetype implements an interface:MutationResponse. We'll want to copy over that interface definition to theaccountssubgraph. This interface still needs to be defined in themonolithsubgraph because all the mutation responses implement this interface.subgraph-accounts/schema.graphqlinterface MutationResponse {"Similar to HTTP status code, represents the status of the mutation"code: Int!"Indicates whether the mutation was successful"success: Boolean!"Human-readable message for the UI"message: String!}We can keep both
MutationResponseinterface definitions identical because both subgraphs will need all of those fields.
✏️ The rest of the resolvers
Next, make sure that the accompanying resolvers for these fields are also moved over!
Query.userQuery.meMutation.updateProfile
const resolvers = {Query: {user: async (_, { id }, { dataSources }) => {const user = await dataSources.accountsAPI.getUser(id);if (!user) {throw new Error("No user found for this Id");}return user;},me: async (_, __, { dataSources, userId }) => {if (!userId) throw new AuthenticationError(authErrMessage);const user = await dataSources.accountsAPI.getUser(userId);return user;},},Mutation: {updateProfile: async (_,{ updateProfileInput },{ dataSources, userId }) => {if (!userId) throw new AuthenticationError(authErrMessage);try {const updatedUser = await dataSources.accountsAPI.updateUser({userId,userInfo: updateProfileInput,});return {code: 200,success: true,message: "Profile successfully updated!",user: updatedUser,};} catch (err) {return {code: 400,success: false,message: err.message,};}},},// more resolversUser: {// ...},};
Those three functions should be deleted from the monolith resolvers because they only belong in the accounts subgraph.
Publishing our subgraph schemas
We made schema changes to both subgraphs, so let's make sure to publish them. You know the drill!
In a terminal window, from the root directory, run the following:
rover subgraph publish <APOLLO_GRAPH_REF> \--schema ./monolith/schema.graphql \--name monolith
rover subgraph publish <APOLLO_GRAPH_REF> \--schema ./subgraph-accounts/schema.graphql \--name accounts
Remember to replace the <APOLLO_GRAPH_REF> value with your own!
Testing our changes
Let's get back to testing the query from last lesson. Head over to the Explorer in Apollo Studio and run the following:
query GetMyProfile {me {idnameprofilePicture}}
Make sure your Headers are set to:
Authorization: Bearer user-1
When you run the query... uh-oh! Just kidding, we get real data back, finally! 🥳
And if you don't, try refreshing the page and running the query again - the supergraph might still be composing!
{"data": {"me": {"id": "user-1","name": "Eves","profilePicture": "https://res.cloudinary.com/apollographql/image/upload/odyssey/airlock/user-1.png"}}}
We're finally done with the accounts subgraph. We've made great progress, so take a moment to celebrate!

Returning to the client
We should still have our client application running on port 3000. If not, navigate to the client directory and run npm start.
Returning to the app, however, we see an error on the homepage!

When we check out the errors in the console, we'll find a message that might be familiar from the first course in this series.
Access to fetch at 'http://localhost:4000' from origin 'http://localhost:3000'has been blocked by CORS policy
In Voyage I, we saw how to modify our router's config.yaml file to allow requests from a client to reach our supergraph. Let's add the CORS options to our config.yaml file now to permit our client app at http://localhost:3000 to talk to our router.
CORS configuration
Open up config.yaml in the router directory. At the bottom of the file, we'll add the following configuration:
headers:all:request:- propagate:named: "Authorization"include_subgraph_errors:all: true # Propagate errors from all subgraphscors:origins:- http://localhost:3000 # Allows any locally-running client to run against your Router- https://studio.apollographql.com # Allows Apollo Studio to still run queries against your Router
These rules will continue to allow requests from Studio to reach our supergraph, and will now also permit requests from our frontend app.
Navigate to the terminal where your router is currently running. Stop the server process, and then restart it. When we refresh http://localhost:3000, we'll see that we're getting data back!

Key takeaways
- We don't need to transfer over all of the subgraph types and fields at once. We can work in small chunks at a time.
- Splitting off subgraphs incrementally enables teams to reap the benefits sooner.
- The router configuration file takes an option to define a CORS policy, which allows the origins you specify to communicate with your router.
Checking in with the Airlock team
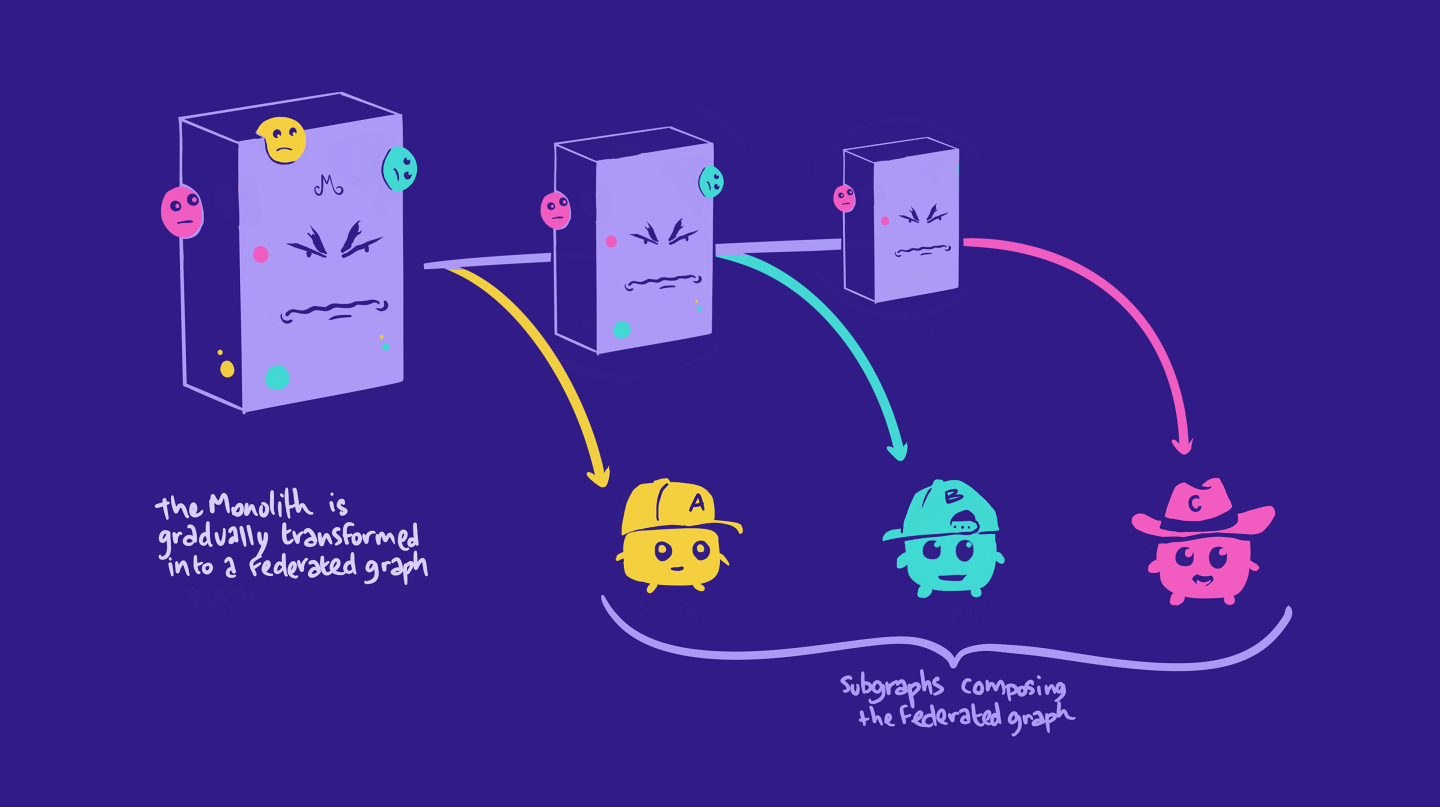
Congratulations, we're on our way to a complete supergraph! Remember our monolithic monster at the beginning of the course that teams were intimidated by and struggling with? Let's see what they have to say about it now:
👩🏽🚀 The Accounts Team says:
"It's great being able to focus on our own subgraph responsibilities! We're much faster at making changes and pushing updates compared to before. Excited for the new features incoming!"
👩🏽🏫 The Listings Team says:
"With the
accountssubgraph completed, the monolith schema is a little more manageable. We're excited to get our team's domain responsibilities on our own subgraph too! The heavy lifting was already done for us with the router setup and the first subgraph out of the way, so we can use that as a blueprint to get our ownlistingssubgraph started."
Amazing, we've made big leaps and improvements to the developer experience that will set us up for great things to come in Airlock's future!
Conclusion
In this course, we learned how to convert a monolith app into a supergraph, using the Strangler Fig approach. We first converted the original graph into one large subgraph, which we published to the schema registry. Then, we installed and ran a router using the same port as the original graph, so that the client wouldn't need any changes.
We started with the accounts subgraph, learning how to handle interfaces as value types and moving the necessary types, fields, resolvers, and data sources over.
We've still got four more subgraphs to go before our supergraph is complete, and you have all the tools you need to tackle those! If you'd like to get more (optional) practice with splitting off subgraphs from a monolith, head on over to Voyage II Lab (coming soon!) to continue the journey.
In the next course of the Voyage series, we'll take a look at how to bring Airlock to production with managed federation, and how to use Apollo Studio features like variants, schema checks, and observability. See you in Voyage III: Federation in Production!
Share your questions and comments about this lesson
Your feedback helps us improve! If you're stuck or confused, let us know and we'll help you out. All comments are public and must follow the Apollo Code of Conduct. Note that comments that have been resolved or addressed may be removed.
You'll need a GitHub account to post below. Don't have one? Post in our Odyssey forum instead.