We've implemented our resolvers and our data source, and we've connected them up to the server. Time to find out if everything works together to actually serve live data.
You can trace your query's journey all the way back to the client and expect to see the live data in your browser, but there is actually a secret shortcut to server-land: the Apollo Studio Explorer! It lets you connect to the server currently running on localhost:4000 and helps you build queries quickly to test out.
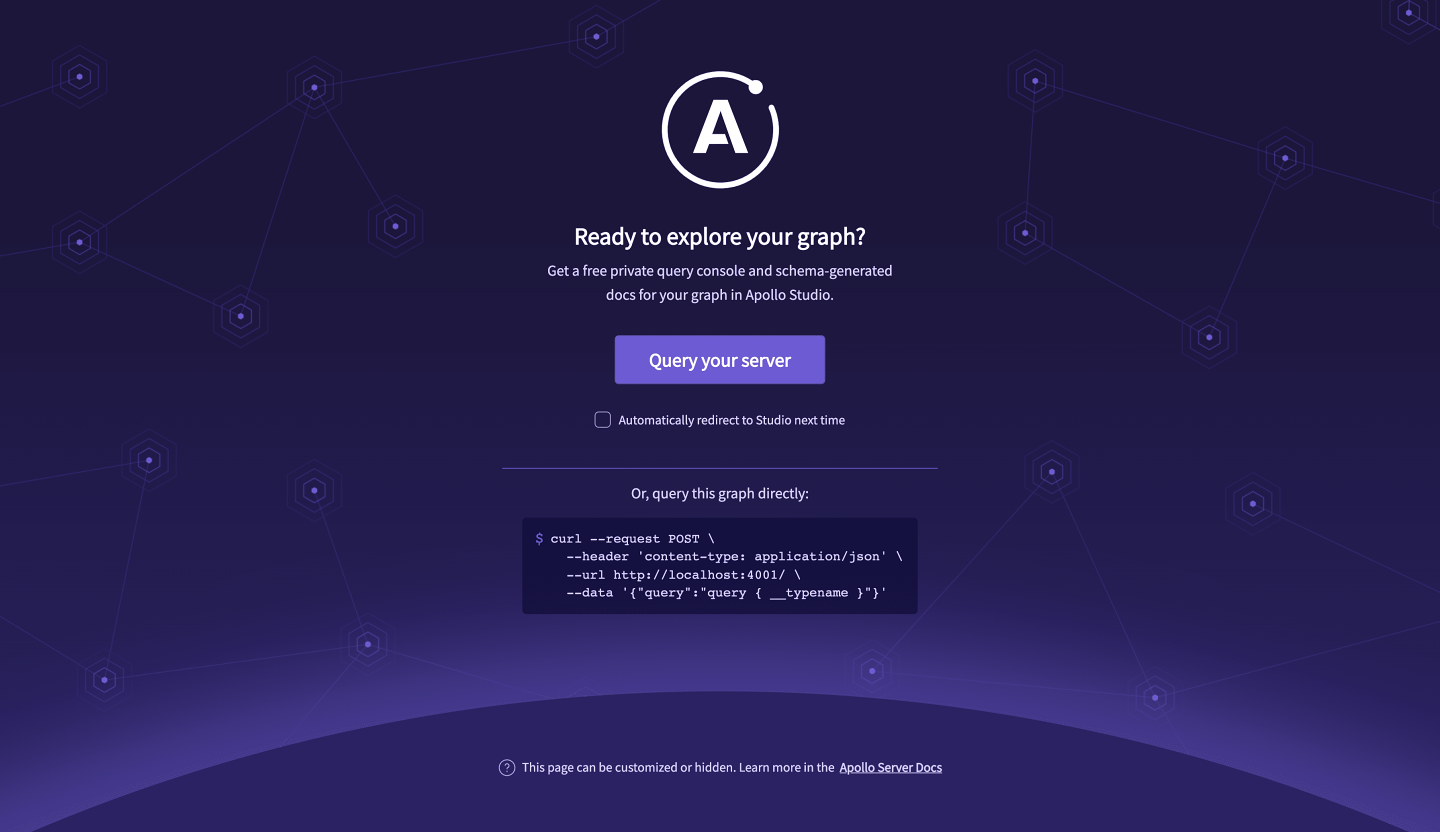
Our server is still running, so you should see a message in the terminal saying the server is indeed running and that we can start querying with the Explorer at the link provided.
To open the Explorer in Apollo Sandbox, you can cmd+click on the URL in your terminal (from starting the server) to open it in your browser, or you can open it here: http://localhost:4000.
In the browser, we can see that our server is running successfully, with a message inviting us to query it. Let's click Query your server to see our graph in action with Apollo Sandbox.
We can use our example query from Lift-off I to test out our new resolver:
query GetTracks {tracksForHome {idtitlethumbnaillengthmodulesCountauthor {idnamephoto}}}
Let's go ahead and run it... and we get the data that's returned by our resolver! 🎉 We can also see that we only get exactly the data we queried for, nothing extra, even though our REST endpoint wasn't structured that way. This means that the resolver has completed its mission, and so have we!
In the Apollo Studio Explorer, test the same tracksForHome query we used in Part I (or copy the one above and paste it in the Explorer). Run the query and copy-paste the last tracks entry below.
Let's click on the query button once more. Did you notice how fast we got the response the second time? The first one took about half a second, then this one returned in just a few milliseconds. This is thanks to our RESTDataSource's built-in resource caching.
Just for the fun of comparing, you can take a look at the fetch implementation below.
A new field has been added called tracksforHomeFetch to our schema. The resolvers are using node-fetch instead of the RESTDataSource. For each call, the response takes the same amount of time, about half a second. Much less efficient, now we really see why we should keep using the RESTDataSource implementation!
Note: Don't copy the two code snippets below to your project, you can find the full fetch code example in the repo's fetch-example branch in the final folder.
const typeDefs = gql`type Query {tracksForHome: [Track!]!tracksForHomeFetch: [Track!]!}# ...`;
const resolvers = {Query: {tracksForHome: () => {// ...}tracksForHomeFetch: async () => {const baseUrl = "https://catstronauts-api.up.railway.app";const res = await fetch(`${baseUrl}/tracks`);return res.json();},},Track: {// using fetch instead of dataSourcesauthor: async ({ authorId }, _, { dataSources }) => {const baseUrl = "https://catstronauts-api.up.railway.app";const res = await fetch(`${baseUrl}/author/${authorId}`);return res.json();// return dataSources.trackAPI.getAuthor(authorId);},},}
RESTDataSource with a query using a simple fetch approach?Share your questions and comments about this lesson
Your feedback helps us improve! If you're stuck or confused, let us know and we'll help you out. All comments are public and must follow the Apollo Code of Conduct. Note that comments that have been resolved or addressed may be removed.
You'll need a GitHub account to post below. Don't have one? Post in our Odyssey forum instead.