👋 Welcome to the full-stack tutorial!
New to Apollo? We recommend checking out our introductory Lift-off series, which introduces many of the same concepts as this tutorial with helpful videos and interactive code challenges along the way. Completing the Lift-off series will also grant you the Apollo Graph Developer - Associate Certification, letting you easily share your newfound skills with the world!
If you are familiar with Apollo, this course covers building common useful features like authentication, pagination, and state management.
Welcome! This tutorial guides you through building a full-stack, GraphQL-powered app with the Apollo platform.
We want you to feel empowered to build your own production-ready app with Apollo, so we're skipping "Hello World" in favor of an example that's closer to "Real World", complete with authentication, pagination, testing, and more.
Ready? Let's dive in!
What we'll build
In this tutorial, we'll build an interactive app for reserving a seat on an upcoming SpaceX launch. Think of it as an Expedia for space travel! All of the data is real, thanks to the SpaceX-API.
Here's what the finished app will look like:
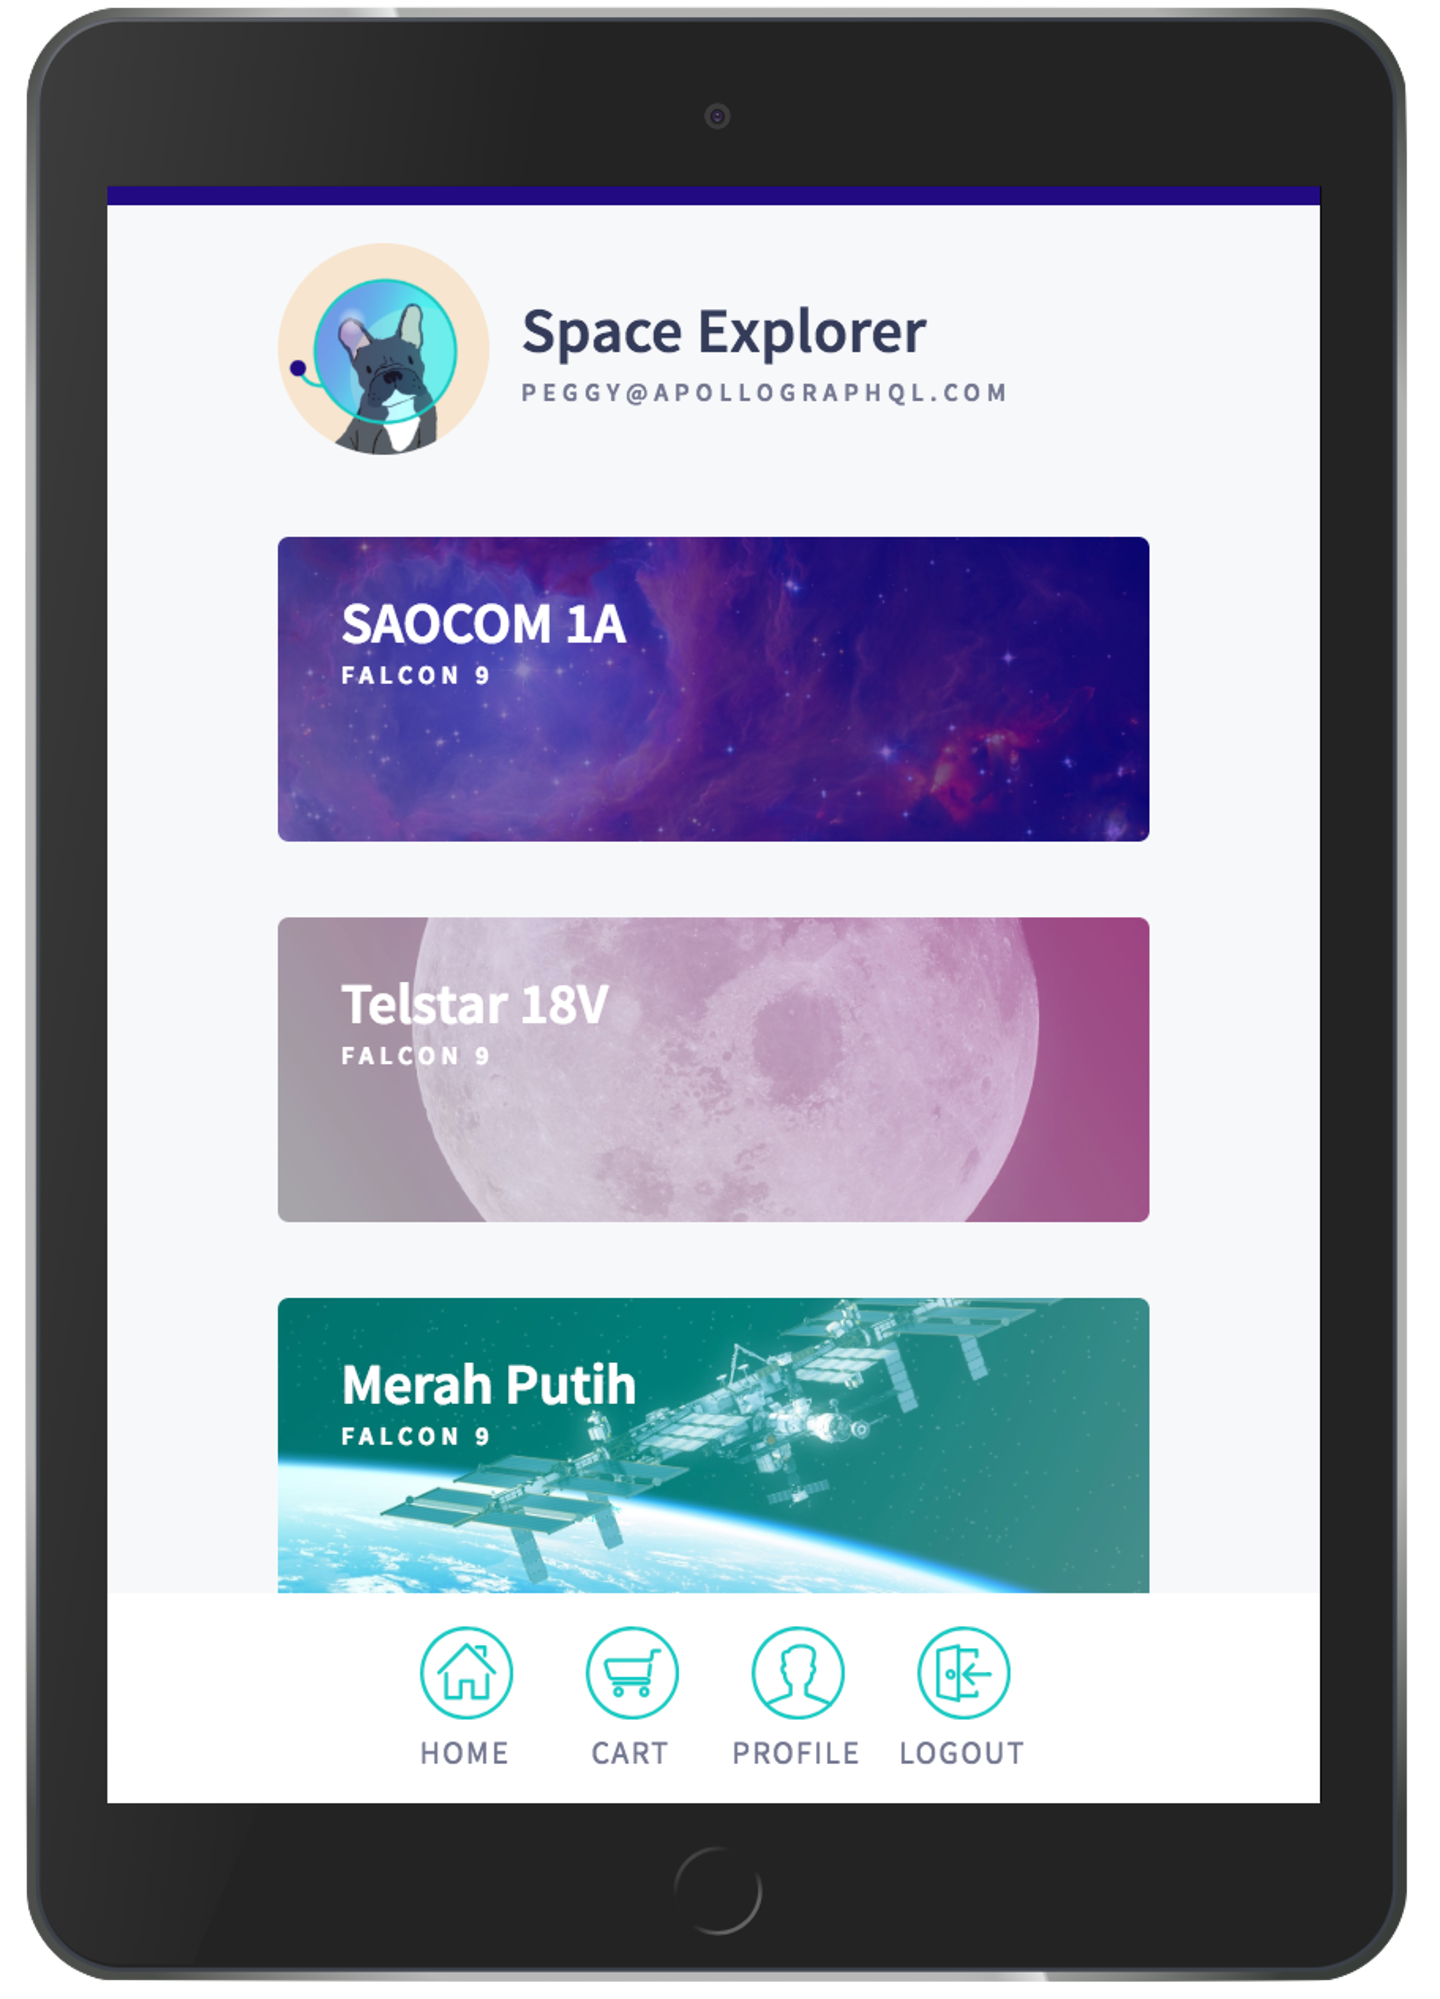
The app includes the following views:
- A login page
- A list of upcoming launches
- A detail view for an individual launch
- A user profile page
- A cart
To populate these views, our graph will connect to two data sources: a REST API and a SQLite database. (Don't worry, you don't need to be familiar with either of those technologies to complete the tutorial.)
As mentioned, we want this example to resemble a real-world Apollo app, so we'll also add common useful features like authentication, pagination, and state management.
Prerequisites
This tutorial assumes the following:
You're familiar with both JavaScript/ES6 and React.
- If you need to brush up on React, we recommend going through the official React tutorial.
You're interested in implementing both a backend GraphQL API and a frontend client that consumes it. If you're only interested in one or the other, see one of the following:
- Get started with Apollo Client (frontend)
- Get started with Apollo Server (backend)
Building your frontend with React is not a requirement for using the Apollo platform, but it is the primary view layer supported by Apollo. If you use another view layer (such as Angular or Vue), you can still apply this tutorial's concepts to it. See the Apollo Client docs for more details on using other view layers.
System requirements
Before we begin, make sure you have the following installed:
Although it isn't required, we also recommend using VS Code as your editor so you can use Apollo's helpful VS Code extension.
Clone the example app
Now the fun begins! From your preferred development directory, clone this repository:
git clone https://github.com/apollographql/fullstack-tutorial.git
The repository contains two top-level directories: start and final. During the tutorial you'll edit the files in start, and at the end they'll match the completed app in final.
Each top-level directory contains two directories of its own: server and client. We'll be working in the server directory first. If you're already comfortable building a graph API and you want to skip to the client portion, navigate to the second half of the tutorial.
Need help?
Learning a new technology can be overwhelming sometimes, and it's common to get stuck! If that happens, we recommend joining the Apollo community and posting there for assistance from friendly fellow developers. You can also click Get Help on the bottom left side of any page to navigate to the Apollo Community at any time.
If anything in this course seems confusing or contains an error, we want to know! You can click Give Feedback on the bottom left side of any page to submit feedback.