Overview
This side quest showcases one example of how to add authentication and authorization to a GraphQL server.
Many applications require some form of user accounts and logins. With authentication and authorization (sometimes called "auth", for short), graph developers can restrict access to parts of the GraphQL API, so that only certain users can do certain things.
💡 Note: This side quest only covers how to implement auth on a GraphQL server. For more information on how to set up auth on the client, see the Apollo Client docs on auth. For more information on how to set up auth in a federated GraphQL architecture, see this Apollo technote or follow along with the Voyage II Odyssey course.
Note: This side quest only covers how to implement auth on a GraphQL server.
For more information on how to set up auth on the client, see the Apollo Client docs on auth.
For more information on how to set up auth in a federated GraphQL architecture, see the GraphOS Router docs on auth or the [Voyage II Odyssey course(/voyage-part2).
Prerequisites
Before completing this side quest, you should already be comfortable with the concepts in the Lift-off series, including:
- Using Apollo Server to create a GraphQL backend
- Using Apollo Client to connect a frontend app to a GraphQL server
- Using GraphOS Studio to query a locally running GraphQL server
You should also be comfortable using the command line to navigate between directories, run commands, and use basic Git operations.
Introducing Airlock
In this side quest, we'll be looking at a demo application called Airlock, a website that helps you browse and book intergalactic travel plans.
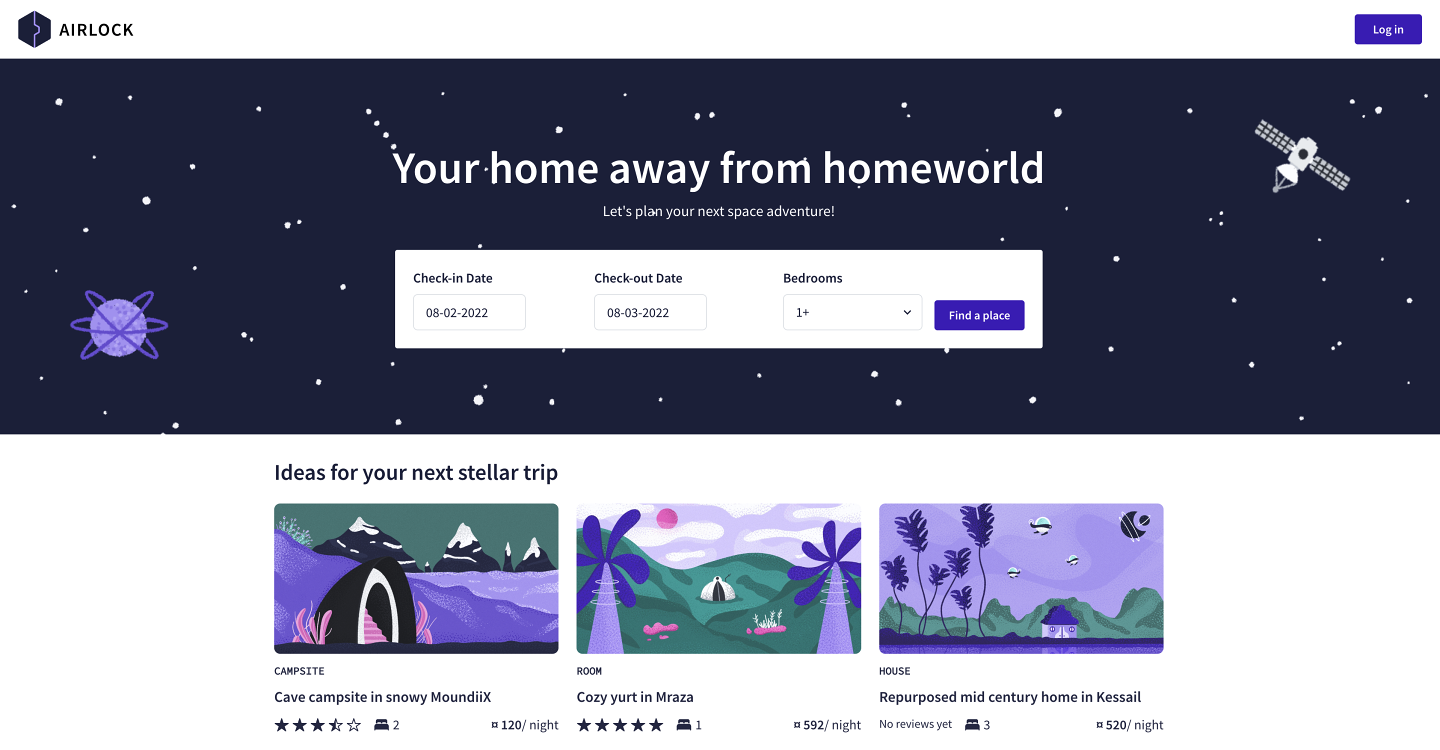
Using Airlock, guests can find listings that meet their dates of choice and the number of beds they'll need. They can learn what each place is all about and what amenities it offers, and if they're interested, they can book their stay in one click (provided they have enough space credits in their wallet, of course)!
Hosts can also rent out their own space suites with Airlock too! They can add their listings to the platform with all the necessary details and manage their bookings. After each stay, guests and hosts can leave honest ratings and reviews about each other.
Why do we need auth?
Airlock has two types of users: hosts and guests. Each type of user can perform different kinds of actions.
When logged in as a host, you can:
- create listings
- manage bookings for your listings
- write reviews about guests
When logged in as a guest, you can:
- book places to stay
- write reviews about the location and the host
- manage your space credits
Currently, guest users are not allowed to create listings, and host users are not allowed to book places to stay.
With these business rules, our Airlock GraphQL API needs to control which users can see and interact with certain fields in the graph. This is where authentication and authorization come in.
- Authentication is determining whether a given user is logged in, and subsequently determining which user someone is. (They are who they say they are.)
- Authorization is determining what a given user has permission to do or see. (They're allowed to do what they're trying to do.)
In this side quest, we'll see how Airlock handles both authentication and authorization. Let's start by setting up the Airlock codebase.
Setting up the Airlock codebase
To get started with Airlock, you can download the codebase by opening a new terminal window and running the command below:
git clone https://github.com/apollographql-education/side-quest-auth
Backend servers
The code for the Airlock backend can be found in the server directory. This includes a GraphQL server, as well as separate Express servers for each backend REST API (found in the server/services directory).
- To start the GraphQL server, open a new terminal window and run the following commands:
cd servernpm installnpm start
- To start the backend services that Airlock uses to fetch data, open another new terminal window and run the following commands:
cd servernpm run launch
- Once you've started both the GraphQL server and the backend services, you should be able to query the Airlock backend by opening
http://localhost:4000in GraphOS Studio Sandbox.
Frontend client
The frontend code for Airlock can be found in the client directory.
- To start the frontend client, open another new terminal window, and run the following commands:
cd clientnpm installnpm start
- You can access the Airlock website in a browser at http://localhost:3000.
Practice
Key takeaways
- Authentication is determining whether a given user is logged in, and subsequently determining which user someone is.
- Authorization is determining what a given user has permission to do or see.
Up next
Now that you've got Airlock up and running on your computer, it's time to dive into auth!
In the next lesson, we'll look at how Airlock authenticates users and verifies that they are who they say they are.