Overview
It's helpful to understand SDL from the schema's perspective, but we want to actually write queries to bring data to our frontend. Fortunately, we have a tool that allows us to explore the process of doing just that: the Apollo Sandbox Explorer!
In this lesson, we will:
- Explore our GraphQL API hands-on in the Explorer
- Build and run queries for track data
Introducing the Explorer
To write our test queries, we'll use Apollo Explorer. The Explorer is free to use, and it provides awesome development features like interactive query building, query history, and response hints. This will make building our queries fast and fun.
Since we're still in the local development stage of building our graph, we'll start by opening the Explorer in Apollo Sandbox.
Let's jump back into Sandbox by opening a new browser to https://studio.apollographql.com/sandbox/explorer. You can also access the Explorer from the Schema page by clicking the Explorer option from the menu on the left.

Exploring the Explorer
Sandbox should already be connected to our API from the last step. If you need to reconnect, paste the following endpoint into the input at the top of the screen.
https://odyssey-lift-off-server.herokuapp.com/

The Explorer consists of three primary sections: Documentation, Operation, and Response.
The Operation panel in the middle is where we create queries. You might already see it populated with an operation; if so, we can start fresh and open up a new tab by clicking the plus button just above.

Building a query
The Explorer's Documentation tab enables you to drill down into your schema's fields, starting at the entry points of the Query type.

Let's click the plus button next to the tracksForHome field to add it to our query.

The tracksForHome field returns a list of Track items, and we'll see that the Documentation panel automatically updated to show the fields we can query for each Track.
When you click on a field, you can see the description we added, along with the field's subfields (if it has any).

Clicking on the plus (⊕) button next to a field automatically adds that field to the query in the Operation panel. This is a handy way to assemble complex queries without needing to remember your schema's exact structure.

Let's add the title field to our operation, and run it by clicking the blue play button at the top of the panel. After a few moments, the Response panel will update... and the titles for each of our Tracks have arrived!

Adding all fields
Right now, we've selected just the title field, but the Explorer also has a way to add all fields to an operation at once. When we click the dropdown by the Fields subheading, we'll see that we have two options.

First, we have the option to Select all scalar fields. This will select all of the fields on the tracksForHome type that return a value that does not have additional subfields.
Click Select all scalar fields. We'll see a number of new fields have been added to our query.

All of our scalar fields are taken care of, but we'll notice that neither the author field nor the modules field was added. This is because these fields do not return a scalar type—they return an object type with additional subfields! Fortunately, there's another option in Explorer that will add all fields at once, whether they return a scalar or object type. Let's click the dropdown by the Fields subheading again.
The second option in this dropdown is to Select all fields recursively. This means that in addition to adding all scalar fields to our operation, we can include fields that return an object type, along with all of the object type's subfields! Let's see what this looks like in practice.

When we click Select all fields recursively, the operation updates.

We can see that the author and modules fields have been included in the query, along with each of their subfields. By adding all fields recursively, we're able to include all the subfields of the Author and Module types without having to select them one-by-one.
Running the query
While we're here, let's rename our operation from ExampleQuery to GetTracks so it's more obvious what it's for. Your completed operation should match the following:
query GetTracks {tracksForHome {titleidthumbnaillengthmodulesCountdescriptionnumberOfViewsauthor {idnamephoto}modules {idtitlelengthcontentvideoUrl}}}
Now let's run it! And just look at that beautiful data.

That's a ton of data we've just returned: we have details for all of our tracks, authors, and modules, all in a single query!
Saving an operation
We can see from running that query just how powerful GraphQL is for fetching clean, precise data.
But when we return to our app mock-up, we'll find that we might have overfetched data for this homepage just a little bit.
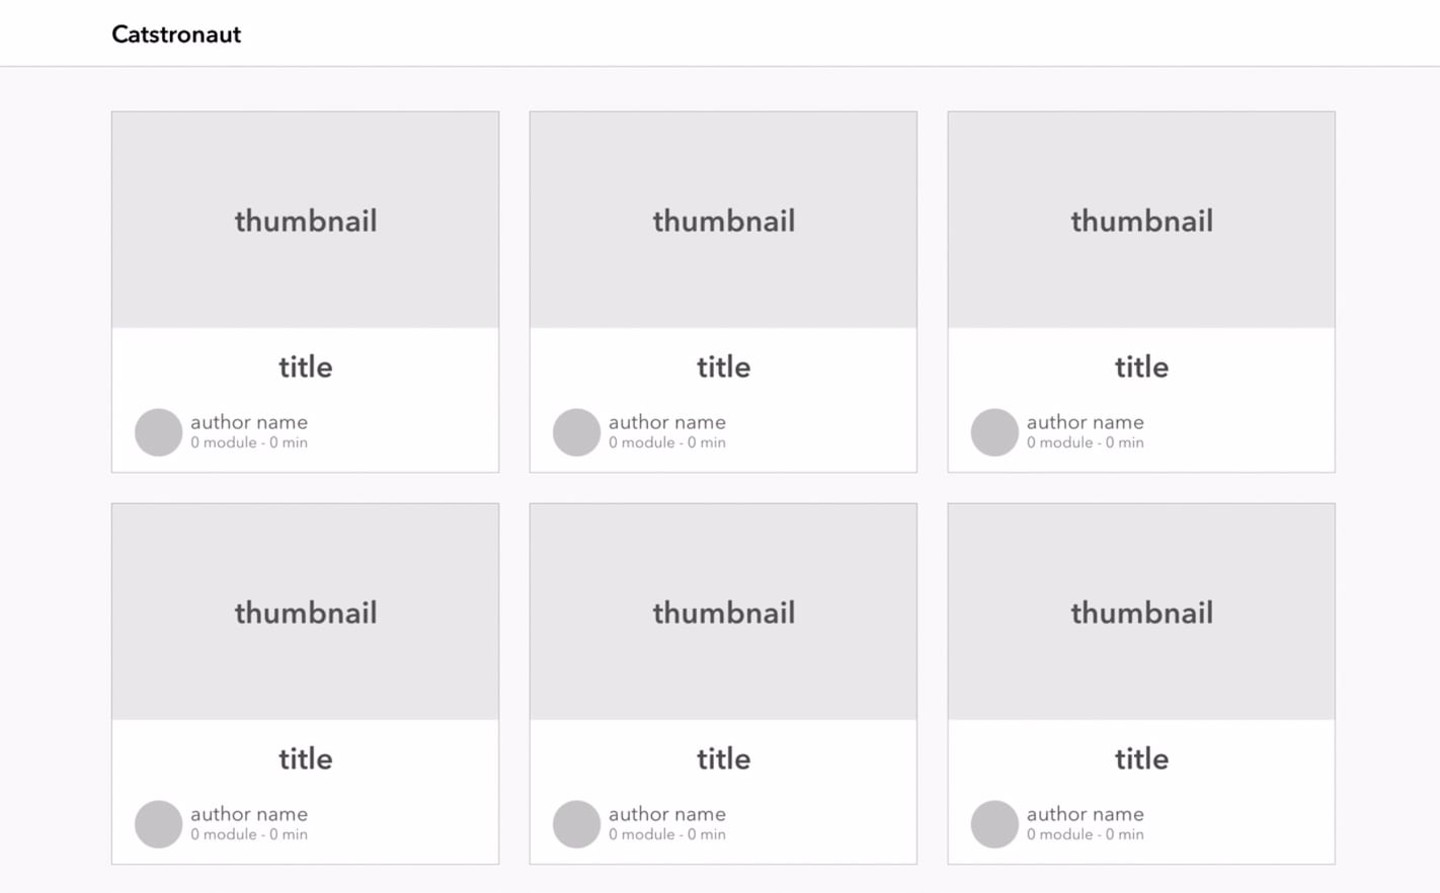
In the last lesson, we defined the fields that we needed to satisfy this frontend view.
- Title
- Thumbnail image
- Length (estimated duration)
- Module count
- Author name
- Author picture
From looking at this list, it's clear that some of the data we've returned in our complete query—the specific modules details, for instance—is unnecessary.
No problem! Let's open a new Operation tab in the Explorer (click the plus button) and build a query that gets us just the details we need for the mock-up shown above.
Try it out yourself! Then check your answer below.
query GetTracks {tracksForHome {idtitlethumbnaillengthmodulesCountauthor {namephoto}}}
Ah, much better. Because we can construct our queries field-by-field, we have more precise control over the shape of the data we'll get back from our API.

Saving an operation
We'll be using this GetTracks operation in a future lesson, so let's take advantage of another Explorer feature that makes this easier.
At the top of the Operation panel, we'll find a save icon button.

Clicking the Save as option from the dropdown opens a modal where we can give our operation a name, and save it to an operation collection.
With a collection, we can store a group of operations in a place that's quick to access when we want to test future changes to our schema.
Let's start by giving our operation the name TracksForHome so that we can locate it when we need it again. Next, in the Select a collection dropdown, let's select the option under Sandbox to create a new default collection.

After we click the Save button, we'll see that our operation's tab now has the name we assigned to it! Additionally, we'll see a bookmark icon that indicates that this operation is saved to a collection.

We can use the panel on the left of the Explorer to access operations that we've saved to a collection. Clicking the bookmark icon at the top of the menu opens up all of our Operation Collections, where we can see our TracksForHome operation has been saved for quick access!

The Explorer can do so much more, but this is all we'll cover for now. With our query defined, it's time to take care of building out our frontend app.
Practice
Key takeaways
- The Explorer gives us an environment to build queries and execute them against a provided GraphQL API.
- We can use the Documentation panel of the Explorer to drill into the types and fields in our query, and build comprehensive, precise queries.
- Operations can be saved in an Operation Collection for later use.
Up next
We connected to our API and ran our very first GraphQL queries. Awesome job! Now it's time to take them out of the sandbox, and bring them into our app. Coming up next, we'll talk about the journey of a GraphQL query from client to server and back—and get to know the tool that will bring our data to life!
Share your questions and comments about this lesson
This course is currently in
You'll need a GitHub account to post below. Don't have one? Post in our Odyssey forum instead.