🚀 Exploring our first query
All right! Our schema is properly loaded and our graph is running on port 4000. Now it's time to put our server to the test and see if we can query for the track data we need for our homepage grid feature.
To write our test query, we'll use Apollo Explorer. The Explorer is free to use, and it provides awesome development features like interactive query building, query history, and response hints. This will make building our queries fast and fun.
Since we're still in the local development stage of building our graph, we'll start by opening the Explorer in Apollo Sandbox. Sandbox is a special mode of GraphOS Studio that lets you test your local graph changes before deploying them.
Note: To learn how to deploy your app to production, check out Side Quest: Deploying an Apollo app with Railway
To open the Explorer in Apollo Sandbox, you can cmd+click on the URL in your terminal (from starting the server) to open it in your browser, or you can open it here: http://localhost:4000.
Exploring the Explorer
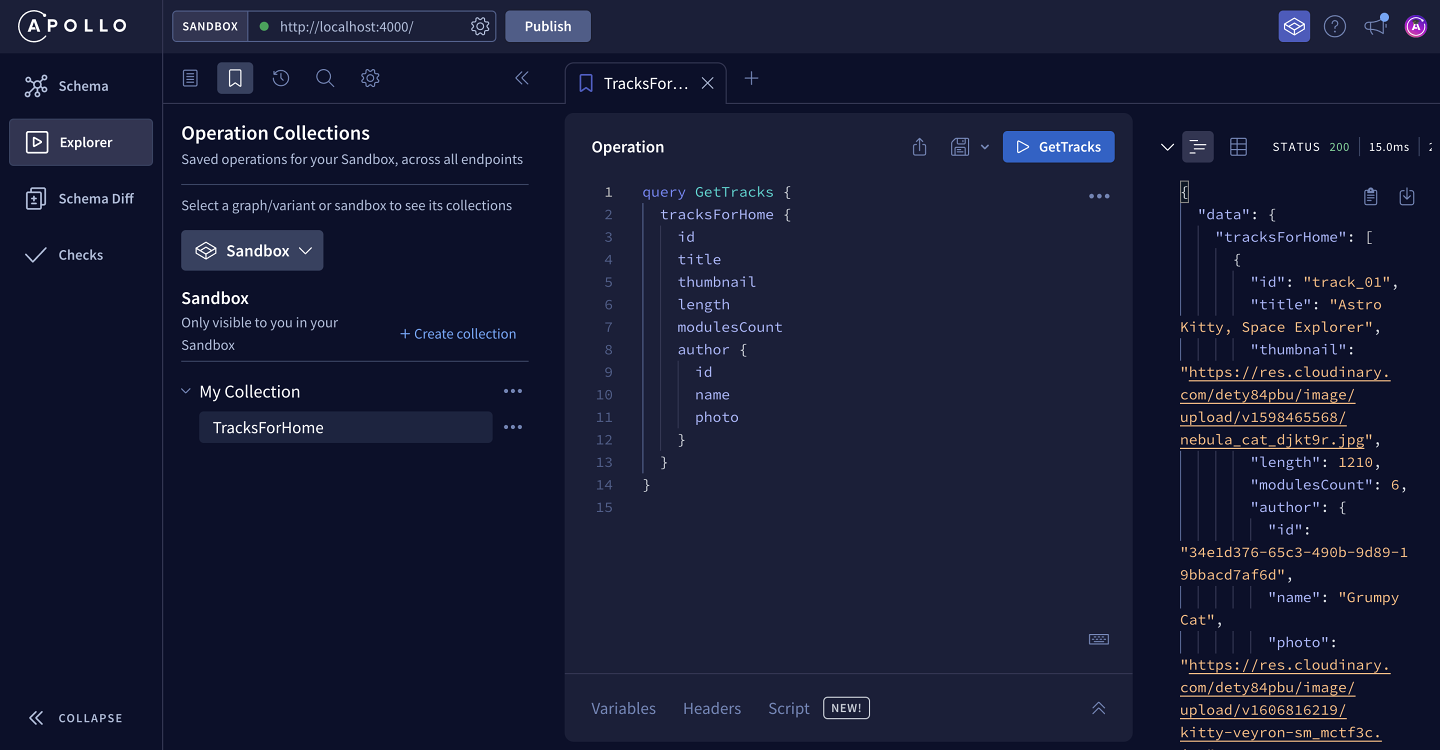
In the browser, we can see Sandbox with Explorer open and connected to localhost:4000. It should look something like this:
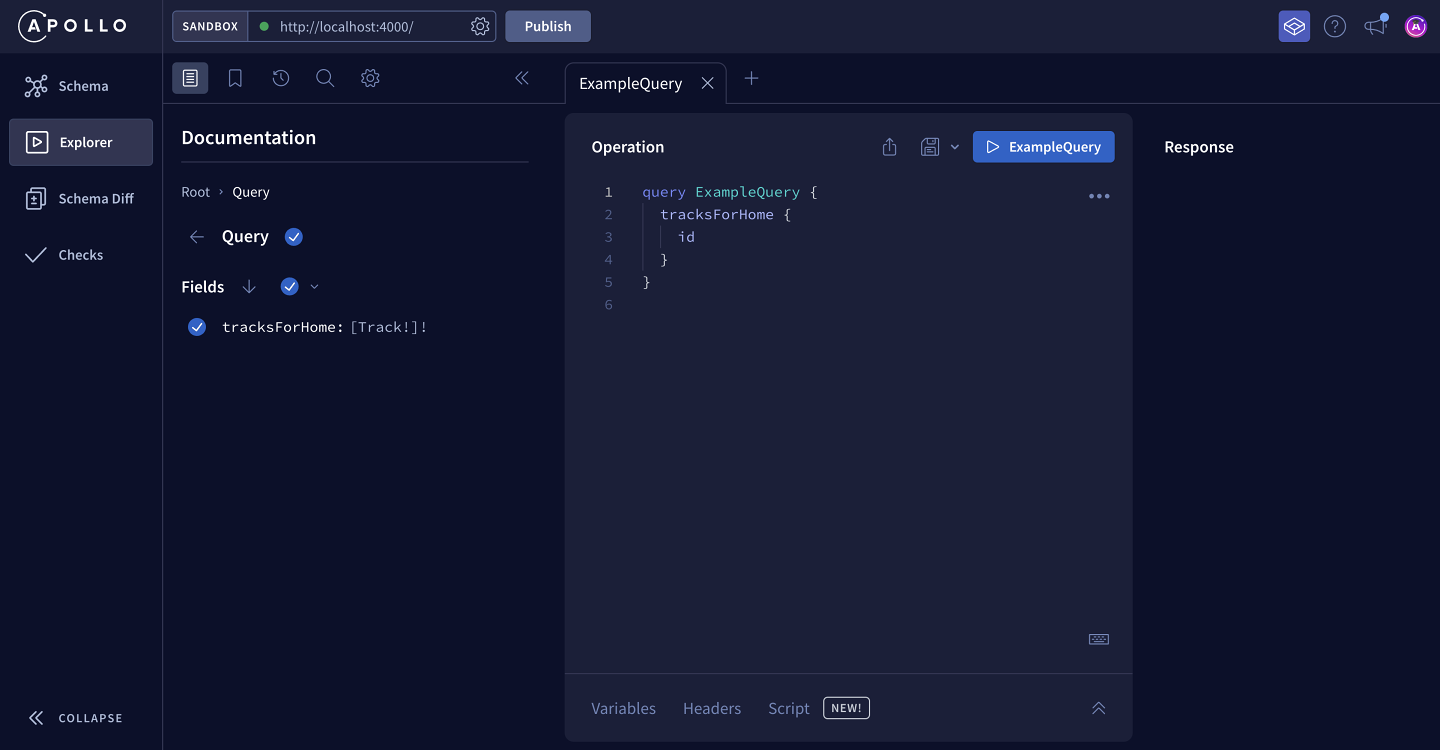
The Operation panel in the middle is where we create queries. The Explorer has already filled in a default operation that uses our tracksForHome query! You can edit the operation directly or add fields from the Documentation tab (more on this below).
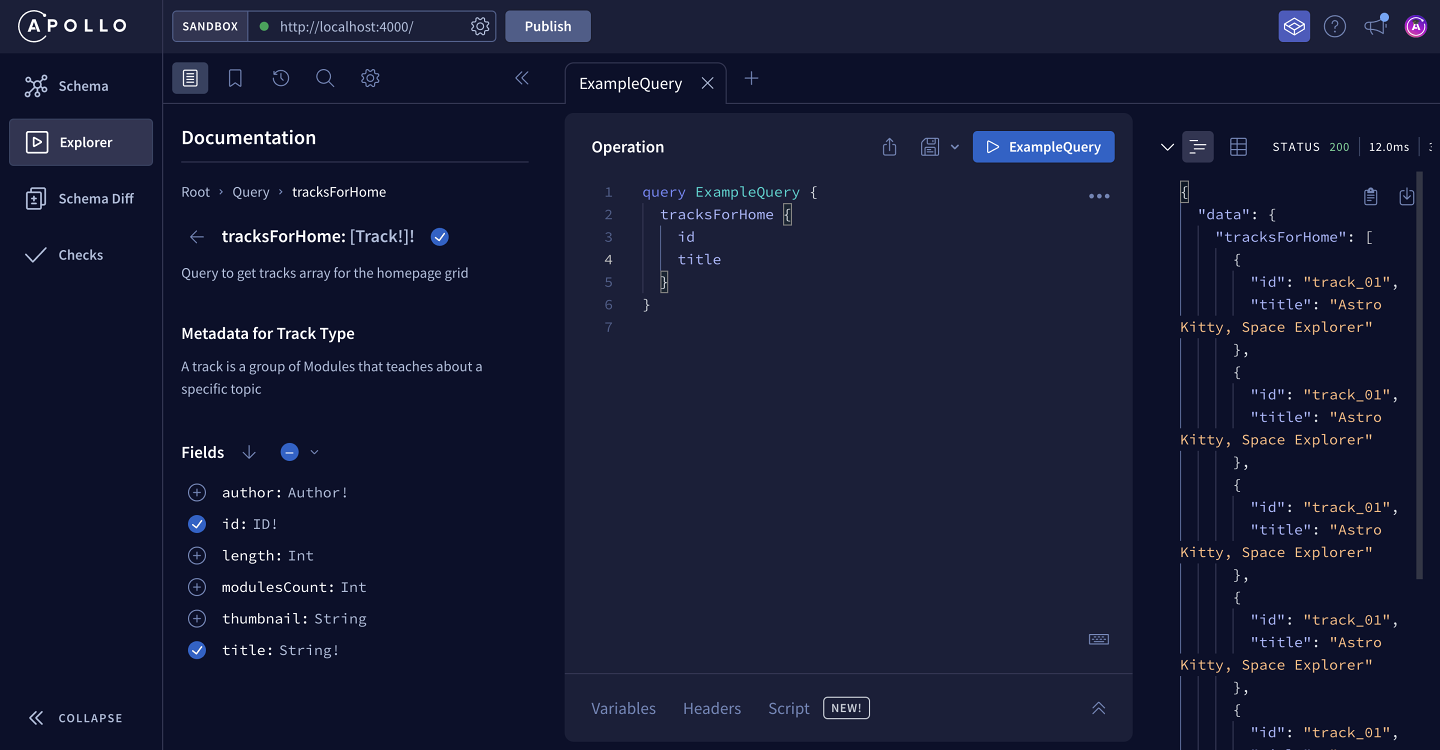
At the top of the Operation panel is the button to run our query. Let's click it now and see what happens:
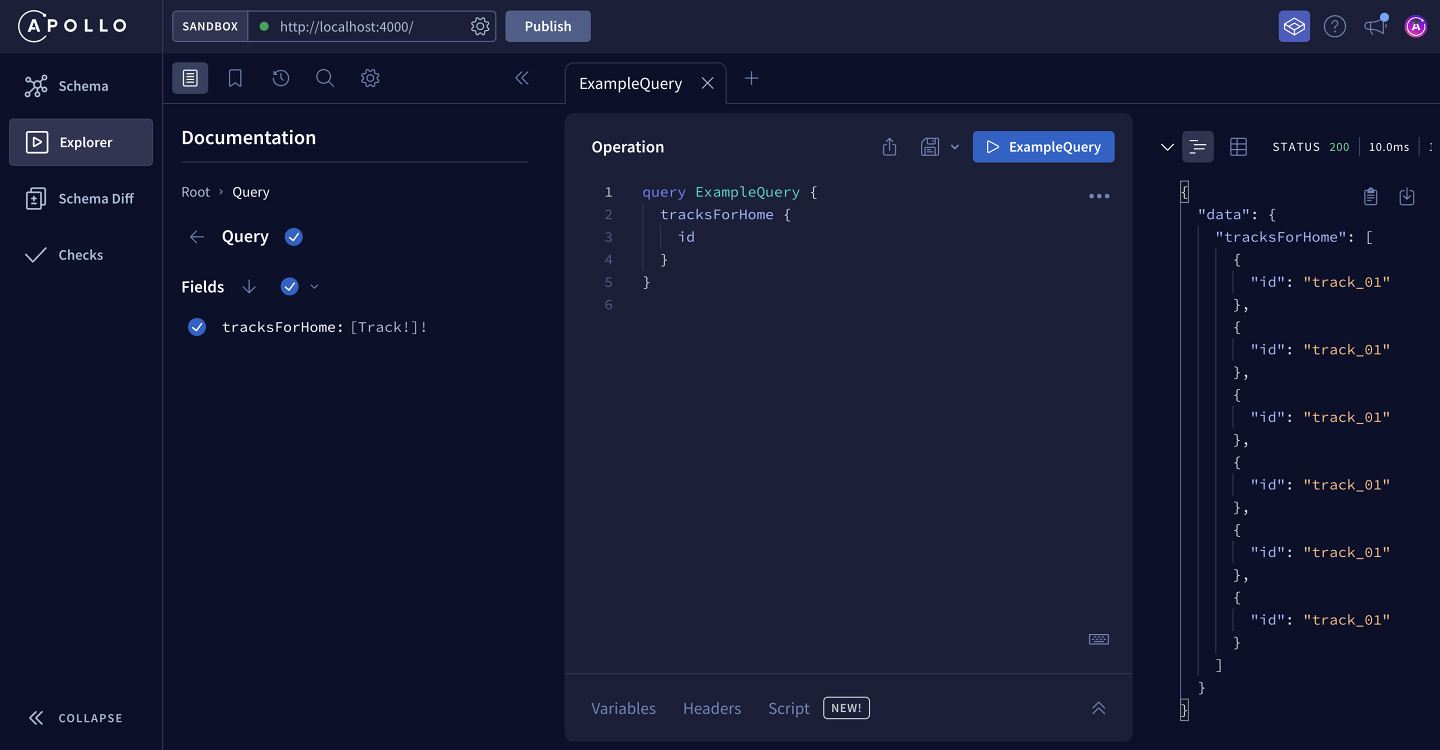
The Response panel on the right displays our list of track IDs. Sweet!
Building a query
The Explorer's Documentation tab enables you to drill down into your schema's fields, starting at the entry points of the Query type.
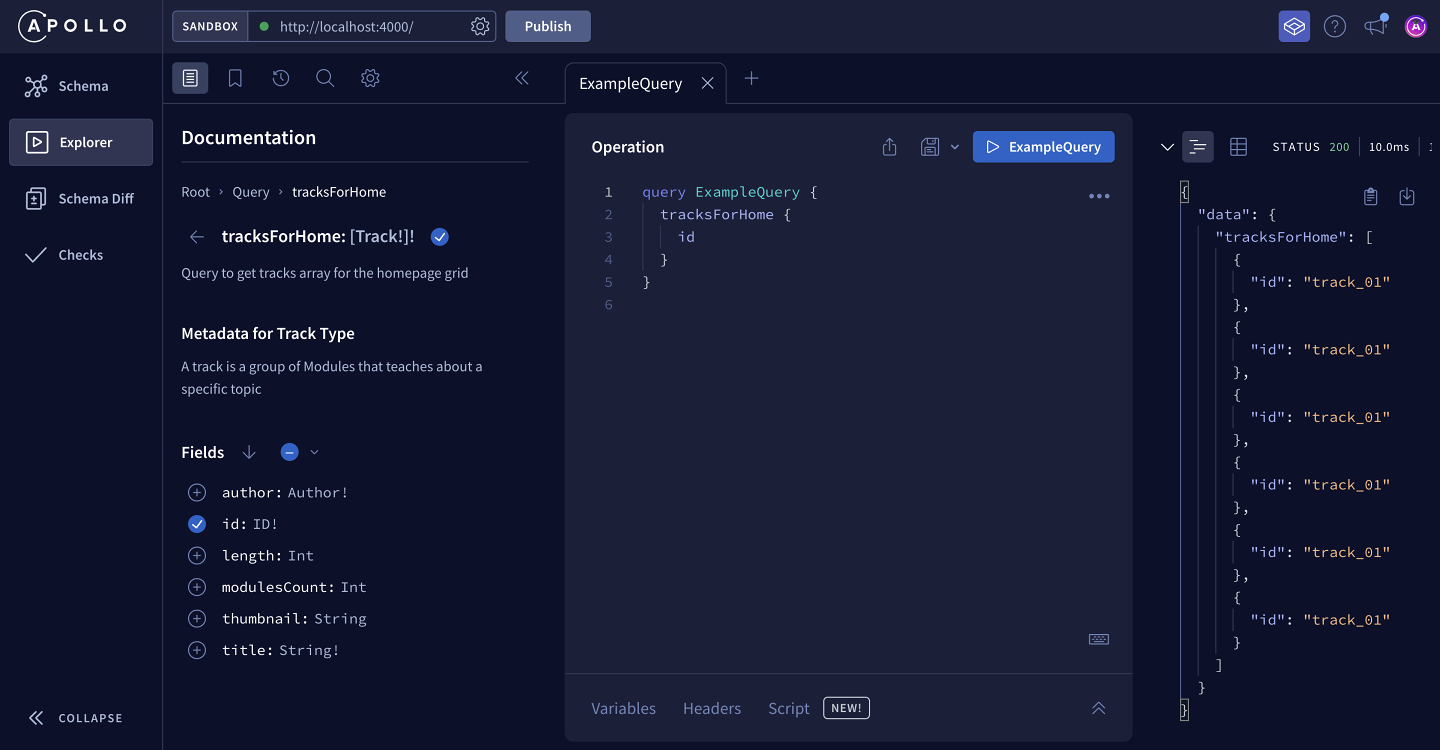
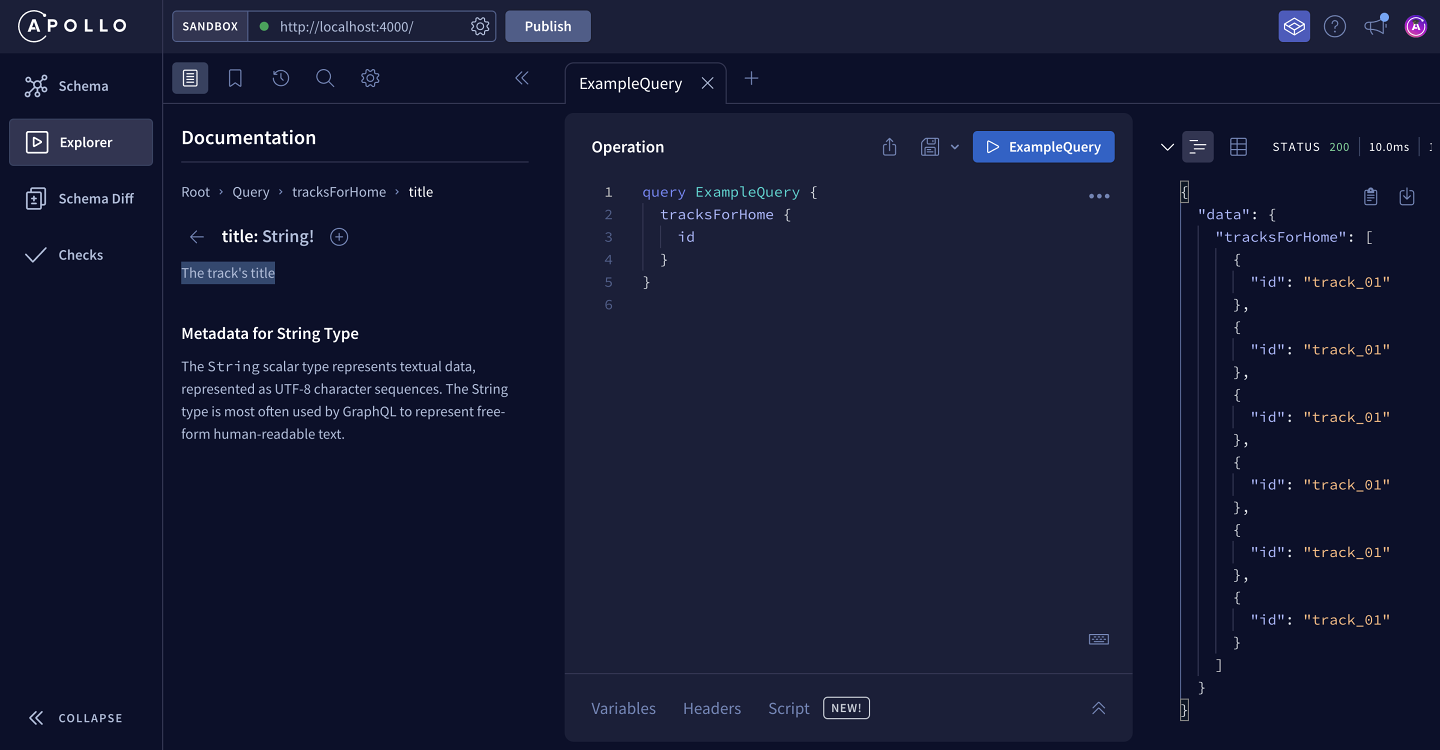
When you click on a field, you can see the description we added, along with the field's subfields (if it has any).
Clicking on the plus (⊕) button next to a field automatically adds that field to the query in the Operation panel. This is a handy way to assemble complex queries without needing to remember your schema's exact structure.
Let's add the title field to our query and run it again. You'll see the updated response in the Response panel.
Adding all fields
Right now, we've selected only the id and title fields, but the Explorer also has a way to add all fields to an operation at once. When we click the dropdown by the Fields subheading, we'll see that we have two options.
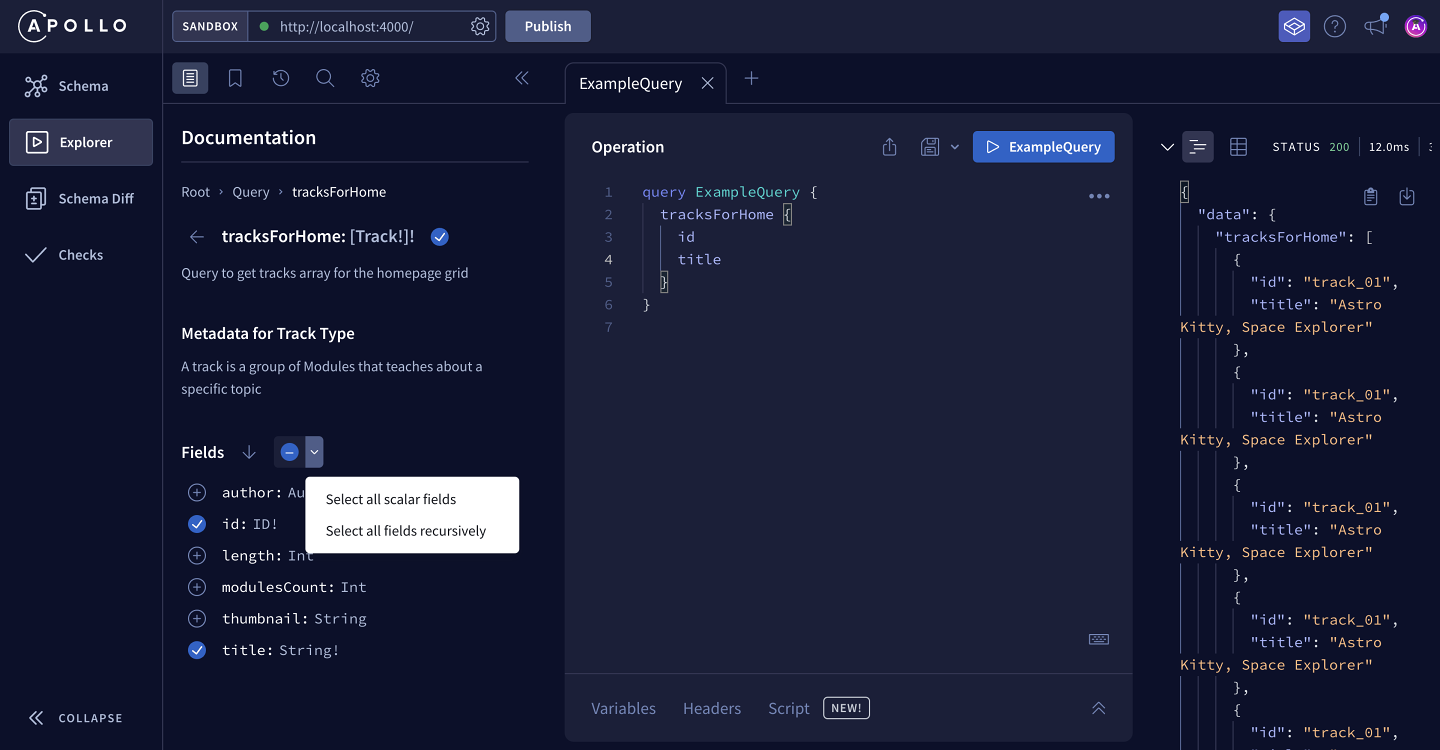
First, we have the option to Select all scalar fields. This will select all of the fields on the tracksForHome type that return a value that does not have additional subfields.
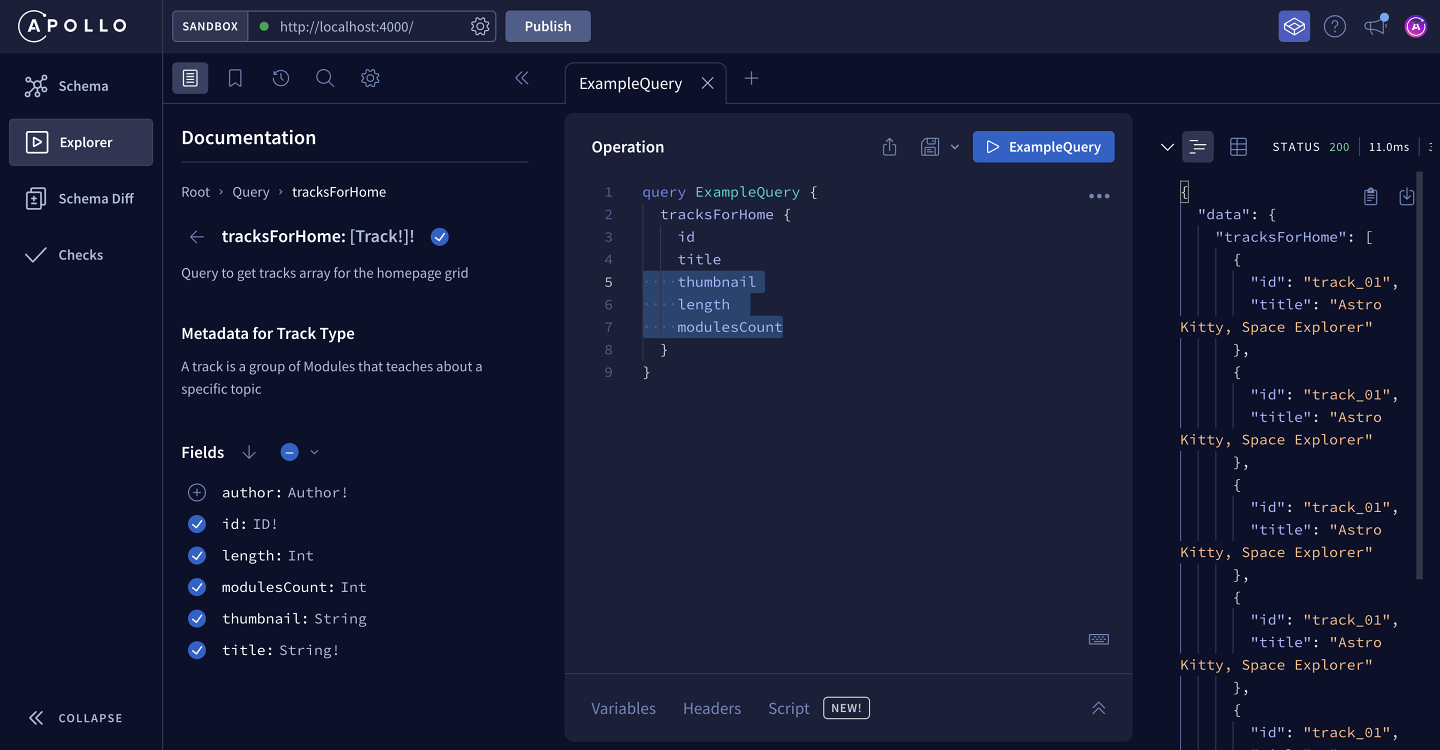
Click Select all scalar fields. We'll see the thumbnail, length and modulesCount fields have been added to our query.
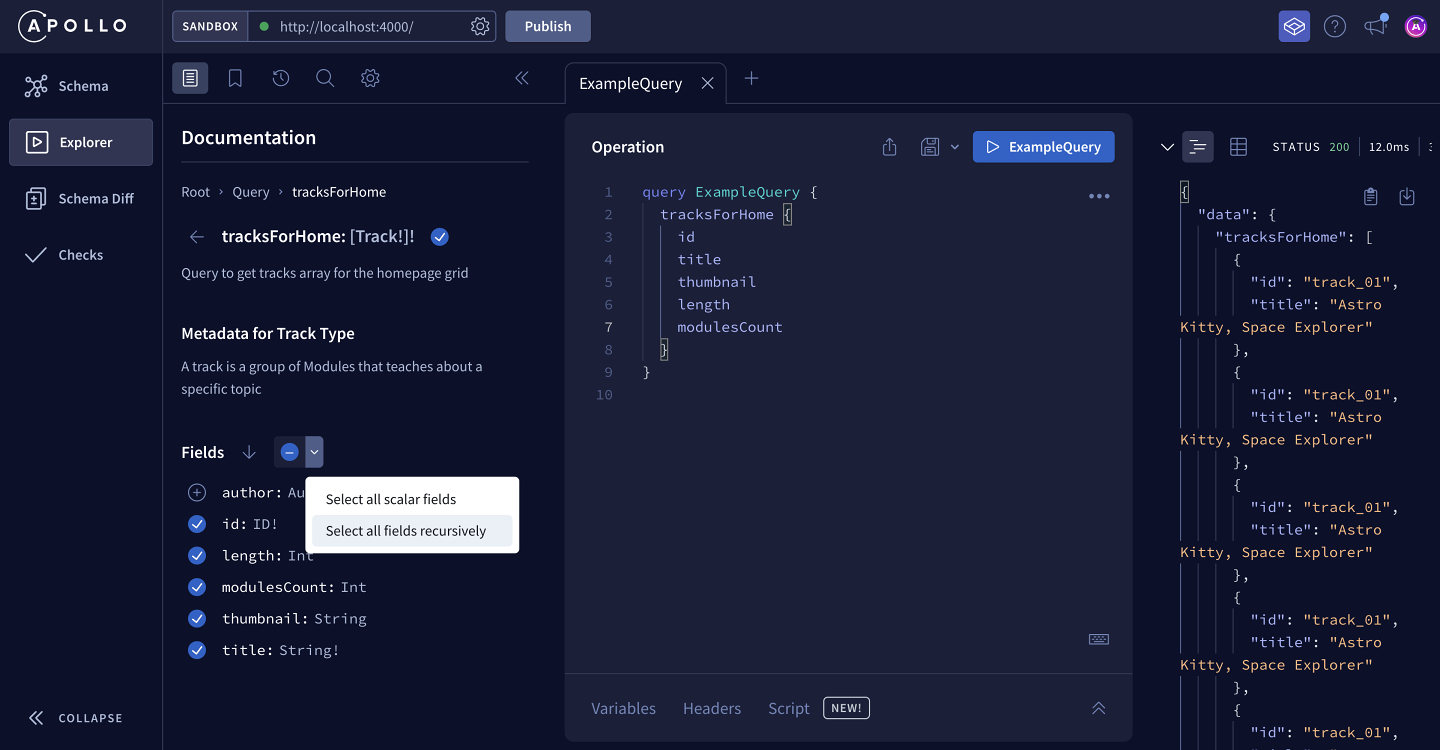
All of our scalar fields are taken care of, but we'll notice that the author field was not added. This is because the author field does not return a scalar type—it returns an object type with additional subfields! Fortunately, there's another option in Explorer that will add all fields at once, whether they return a scalar or object type. Let's click the dropdown by the Fields subheading again.
The second option in this dropdown is to Select all fields recursively. This means that in addition to adding all scalar fields to our operation, we can include fields that return an object type, along with all of the object type's subfields! Let's see what this looks like in practice.
When we click Select all fields recursively, the query updates.
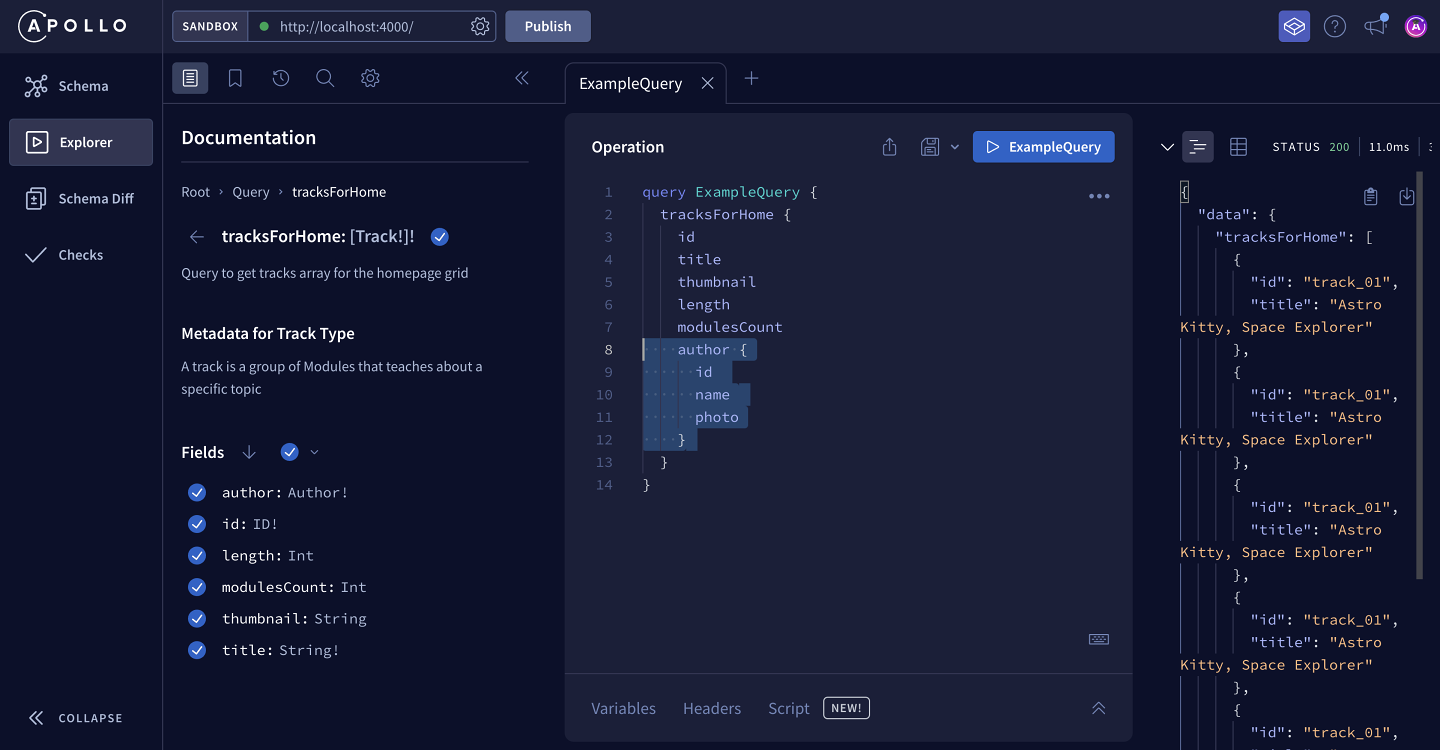
We can see that the author field has been included in the query, along with all of its subfields: id, name and photo. By adding all fields recursively, we're able to include all the subfields of the Author type without having to select them one-by-one.
Running the query
While we're here, let's rename our operation from ExampleQuery to GetTracks so it's more obvious what it's for. Your completed operation should match the following:
query GetTracks {tracksForHome {idtitlethumbnaillengthmodulesCountauthor {idnamephoto}}}
Notice that the query's response looks exactly like the data we need to populate the grid on our homepage: nothing extra and nothing missing, all in a single call. A REST API would probably have required us to make multiple calls to fetch each author by their ID.
Run the above query in Explorer against your local server and the mocks defined in the previous lesson. In Explorer's response section: copy the first Track entry of the tracksForHome array and paste it below (not including the trailing comma)
Saving an operation
We'll be using the GetTracks operation in a future lesson, so let's take advantage of another Explorer feature that makes this easier.
At the top of the Operation panel, we'll find a save icon button.
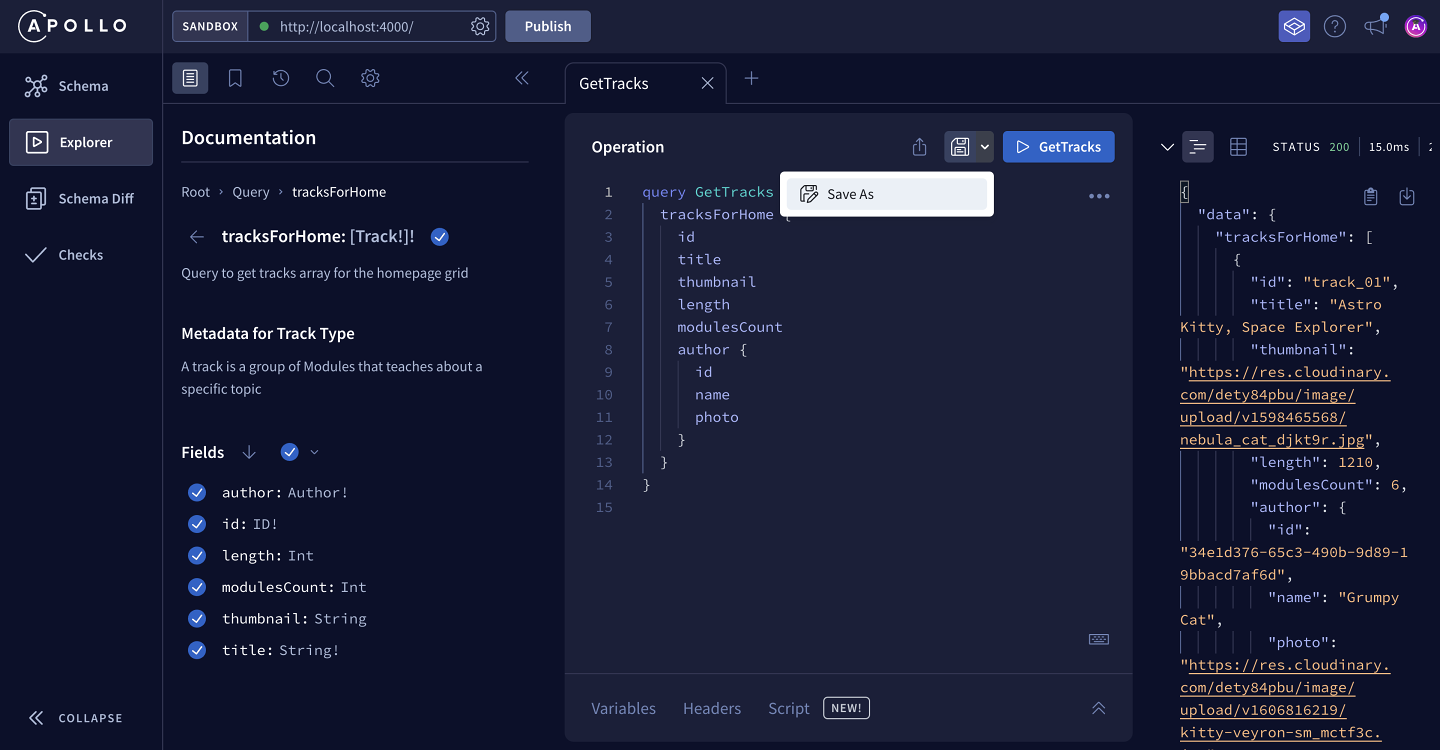
Clicking the Save as option from the dropdown opens a modal where we can give our operation a name, and save it to an operation collection.
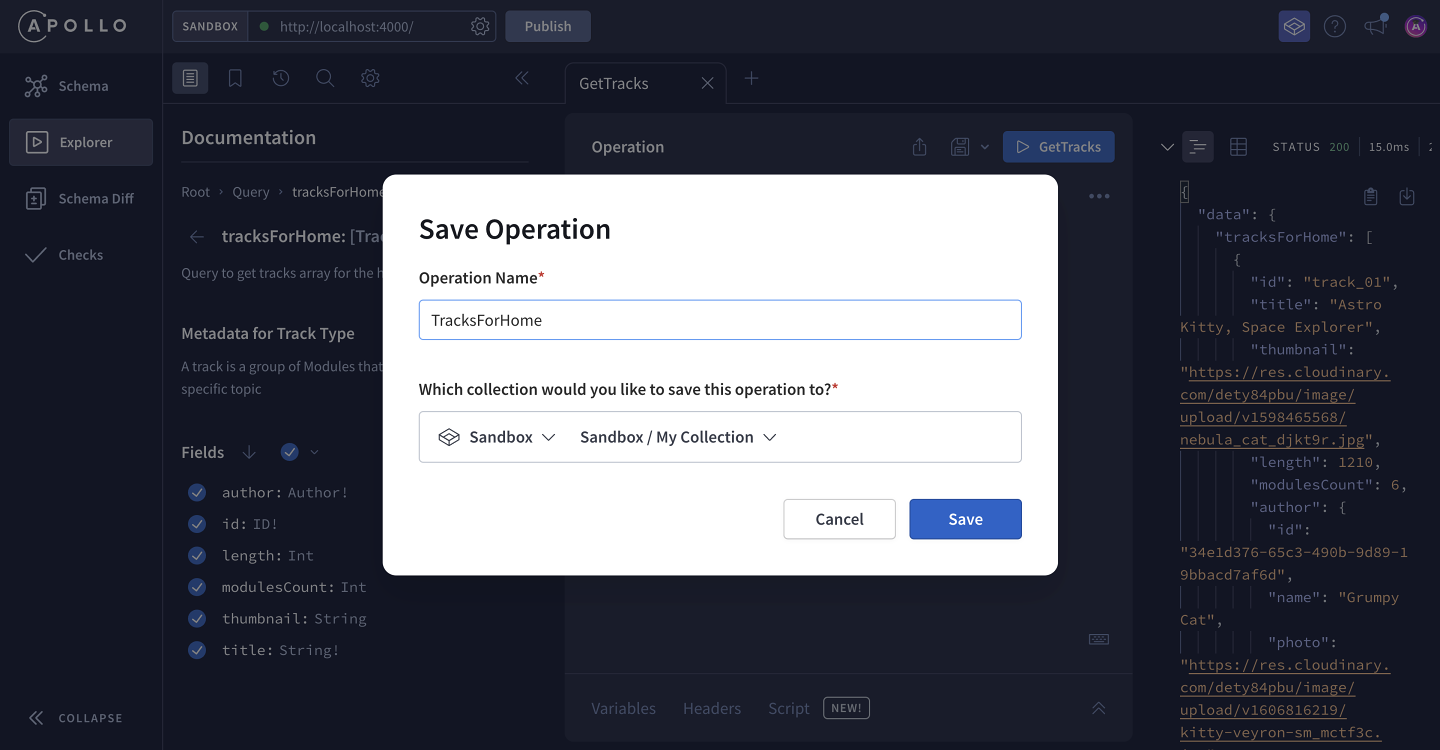
With a collection, we can store a group of operations in a place that's quick to access when we want to test future changes to our schema.
Let's start by giving our operation the name TracksForHome so that we can locate it when we need it again. Next, in the Select a collection dropdown, let's select the option under Sandbox to create a new default collection.
After we click the Save button, we'll see that our operation's tab now has the name we assigned to it! Additionally, we'll see a bookmark icon that indicates that this operation is saved to a collection.
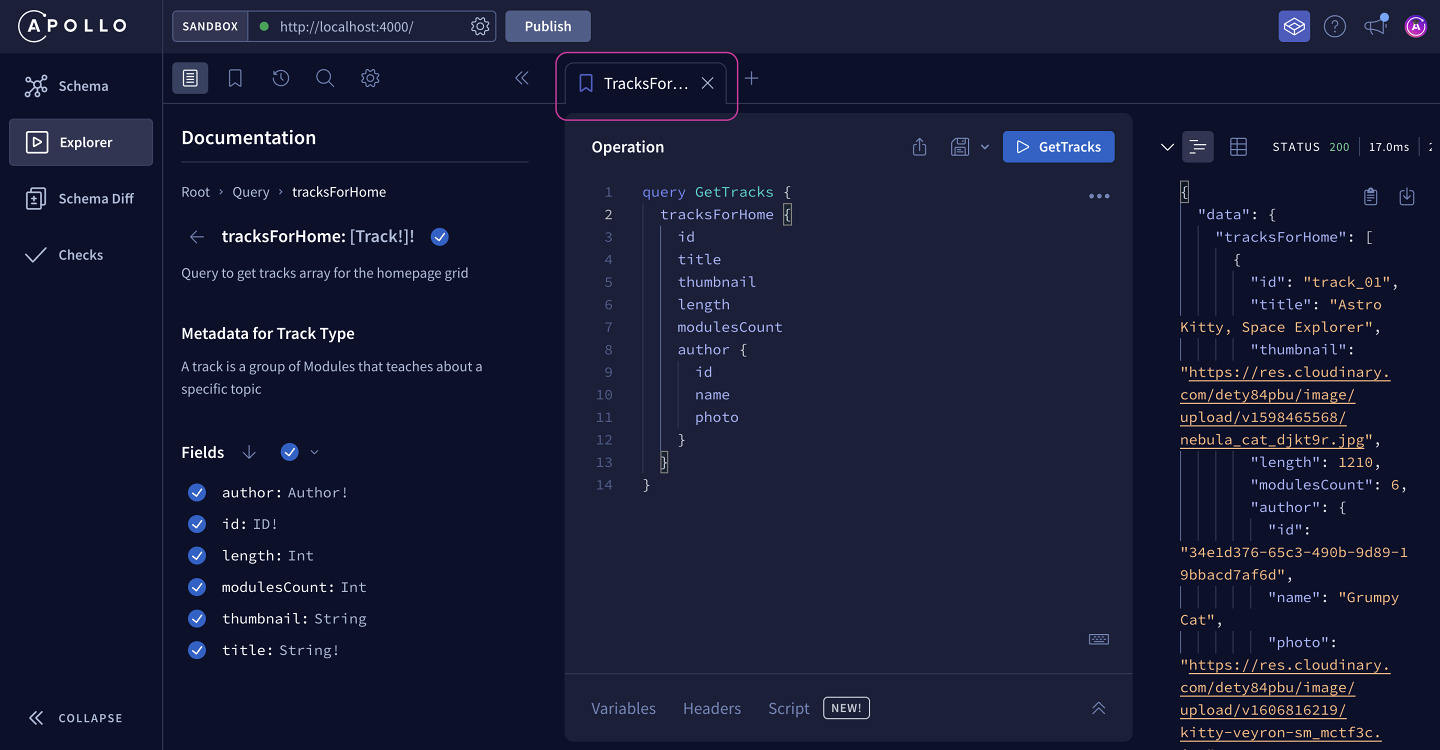
We can use the panel on the left of the Explorer to access operations that we've saved to a collection. Clicking the bookmark icon at the top of the menu opens up all of our Operation Collections, where we can see our TracksForHome operation has been saved for quick access!
The Explorer can do so much more, but this is all we'll cover for now. With our query defined, it's time to take care of building out our frontend app.
Share your questions and comments about this lesson
Your feedback helps us improve! If you're stuck or confused, let us know and we'll help you out. All comments are public and must follow the Apollo Code of Conduct. Note that comments that have been resolved or addressed may be removed.
You'll need a GitHub account to post below. Don't have one? Post in our Odyssey forum instead.