📄 Adding a new track page
We have our server set up and we know the query we need to make. Now let's see how this fits into our user flow by creating the boilerplate for our Track page.
Let's create a new file in the client/src/pages folder. We'll call it track.js.
We import React at the top, then gql and useQuery from @apollo/client. We'll need our Layout and QueryResult components, and lastly, we'll import useParams from react-router-dom.
import React from "react";import { gql, useQuery } from "@apollo/client";import { Layout, QueryResult } from "../components";import { useParams } from "react-router-dom";
Now let's build the skeleton of the Track page.
We'll declare a functional component, and just inside the curly braces we'll destructure trackId from the object returned by the useParams function.
This trackId will arrive as a parameter from the route, or the browser's URL, which we'll set up later. If there's no trackId passed, we'll set it to be an empty string.
For now, let's return the layout of the page. Make sure to export the component below.
const Track = () => {const { trackId = "" } = useParams();return <Layout></Layout>;};export default Track;
We have an empty Track page, great. But how do we access that page? We'll need to add a new route in our index page.
🛣 Adding a new route
Staying in the same pages folder, let's open up the index.js file. At the top, let's import our Track component.
import Track from "./track";
import Track from "./track";
Inside the Routes component, below the Route rendering Tracks, we can add a new Route component, passing it the Track component and setting its path prop to /track/:trackId.
<Routes><Route element={<Tracks />} path="/" /><Route element={<Track />} path="/track/:trackId" /></Routes>
You can learn more about how this routing works in the React Router docs. For now, we know that if we go to this path, or URL, in our browser, and give it a trackId like c_0 for example, it will display the Track page.
The index.js file in client/src/pages should now look like this:
import React from "react";import { BrowserRouter, Routes, Route } from "react-router-dom";import Tracks from "./tracks";import Track from "./track";export default function Pages() {return (<BrowserRouter><Routes><Route element={<Tracks />} path="/" /><Route element={<Track />} path="/track/:trackId" /></Routes></BrowserRouter>);}
Let's check to see if this new route works.
First let's start up our client app. Open up a new terminal, since we want to keep our server running, then navigate to the client folder with cd client. Run npm start.
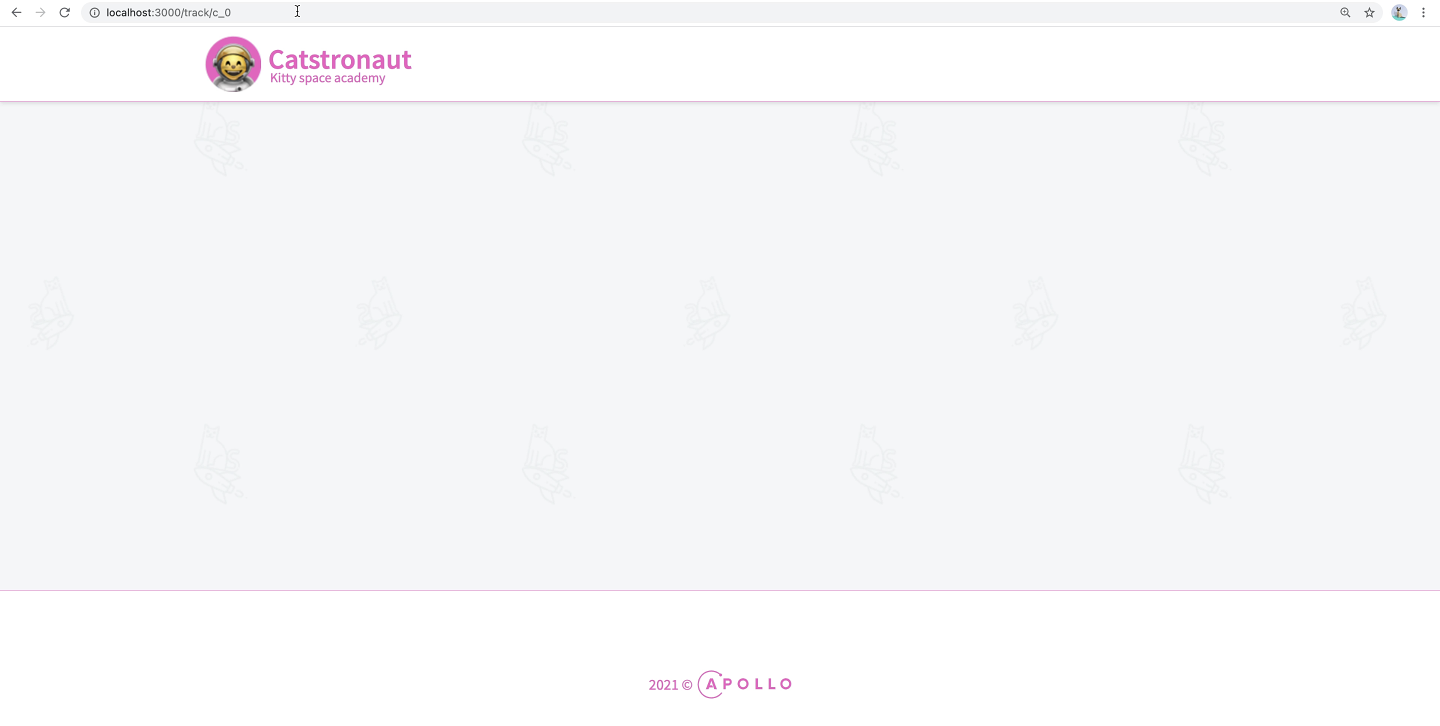
This should open up a page in the browser to http://127.0.0.1:3000/, or localhost:3000, to show the homepage. Let's navigate to the new route we just added: localhost:3000/track/c_0. We should see a blank page layout! We'll start to fill this in with the data we retrieve from the query.

💻 Setting up our client's query
Open up the track.jsfile again in client/src/pages.
Let's build our track query. We'll call it GET_TRACK all caps, and use the
gql template literal.
export const GET_TRACK = gql`// our query goes here`;
And now we could either build our query by hand, or, because we already did the job in Sandbox, let's head back there, copy the query in our Operation panel and paste it in our GET_TRACK variable just between the backticks in the gql tag.
query GetTrack($trackId: ID!) {track(id: $trackId) {idtitleauthor {idnamephoto}thumbnaillengthmodulesCountnumberOfViewsmodules {idtitlelength}description}}
$trackId variable?Drag items from this box to the blanks above
graphqlgqluseApolloClientuseStateuseQuery
With our query all set, we're now ready to wield our useQuery hook in the next lesson.
Share your questions and comments about this lesson
Your feedback helps us improve! If you're stuck or confused, let us know and we'll help you out. All comments are public and must follow the Apollo Code of Conduct. Note that comments that have been resolved or addressed may be removed.
You'll need a GitHub account to post below. Don't have one? Post in our Odyssey forum instead.