👋 Great to see you in Part III of this Lift-off series!
So far, we've built a homepage for our Catstronauts app that's filled with learning tracks for aspiring cat space explorers. We closely followed a GraphQL query's journey from client to server and back, and we set up resolvers to pull live data from a REST data source.
In this course, we'll add a second feature to our Catstronauts app: we want users to be able to click a track card on the homepage to navigate to a page that shows more details about that specific track.
To do this, we'll learn how to query for a single track using GraphQL arguments. We'll continue to apply our schema-first approach while adding to our schema's types and fields. We'll then update our resolvers and data sources accordingly. Finally, we'll jump into the frontend to send our query using GraphQL variables, and we'll add page navigation to tie everything together.
Ignition sequence...
Prerequisites
Our app uses Node.js on the backend and React on the frontend. We recommend using the latest version of Node.
This course can be completed stand-alone but builds on concepts previously covered in Lift-off I and Lift-off II.
Clone the repository
Note: This course is available in both JavaScript and TypeScript. Confirm your language of choice at the top of the lesson before continuing.
In the directory of your choice with your preferred terminal, clone the app's starter repository:
git clone https://github.com/apollographql/odyssey-lift-off-part3
Project structure
This repo picks up where Lift-off II left off. To review, our project is a full-stack app with the backend app in the server/ directory and the frontend app in the client/ directory.
You'll also find a final/ folder that contains the final state of the project once you've completed the course. Feel free to use it as a guide!
Here's the file structure:
📦 odyssey-lift-off-part3┣ 📂 client┃ ┣ 📂 public┃ ┣ 📂 src┃ ┣ 📄 index.html┃ ┣ 📄 package.json┃ ┣ 📄 README.md┃ ┣ 📄 vite.config.js┣ 📂 server┃ ┣ 📂 src┃ ┃ ┣ 📂 datasources┃ ┃ ┃┣ 📄 track-api.js┃ ┃ ┣ 📄 index.js┃ ┃ ┣ 📄 schema.js┃ ┃ ┣ 📄 resolvers.js┃ ┣ 📄 README.md┃ ┣ 📄 package.json┣ 📂 final┃ ┣ 📂 client┃ ┣ 📂 server┗ 📄 README.md
Now, open the repository in your favorite IDE.
Let's start with the server app.
In a terminal window, navigate to the repo's server directory and run the following command to install dependencies and run the app:
npm install && npm start
npm install; npm start
Note: We recommend using the latest LTS version of Node. To check your Node version, run node -v.
If all goes well, you'll see the installation complete and a message in the console indicating that the server is running.
Next, the client app.
In a new terminal window, navigate to the repo's client directory and run the following command to install dependencies and start the app:
npm install && npm start
npm install; npm start
The console should show a bunch of output and a link to the running app at http://127.0.0.1:3000/, or localhost:3000. You can navigate to http://localhost:3000 in the browser and see our homepage, which shows multiple track cards.
Setting up the Explorer
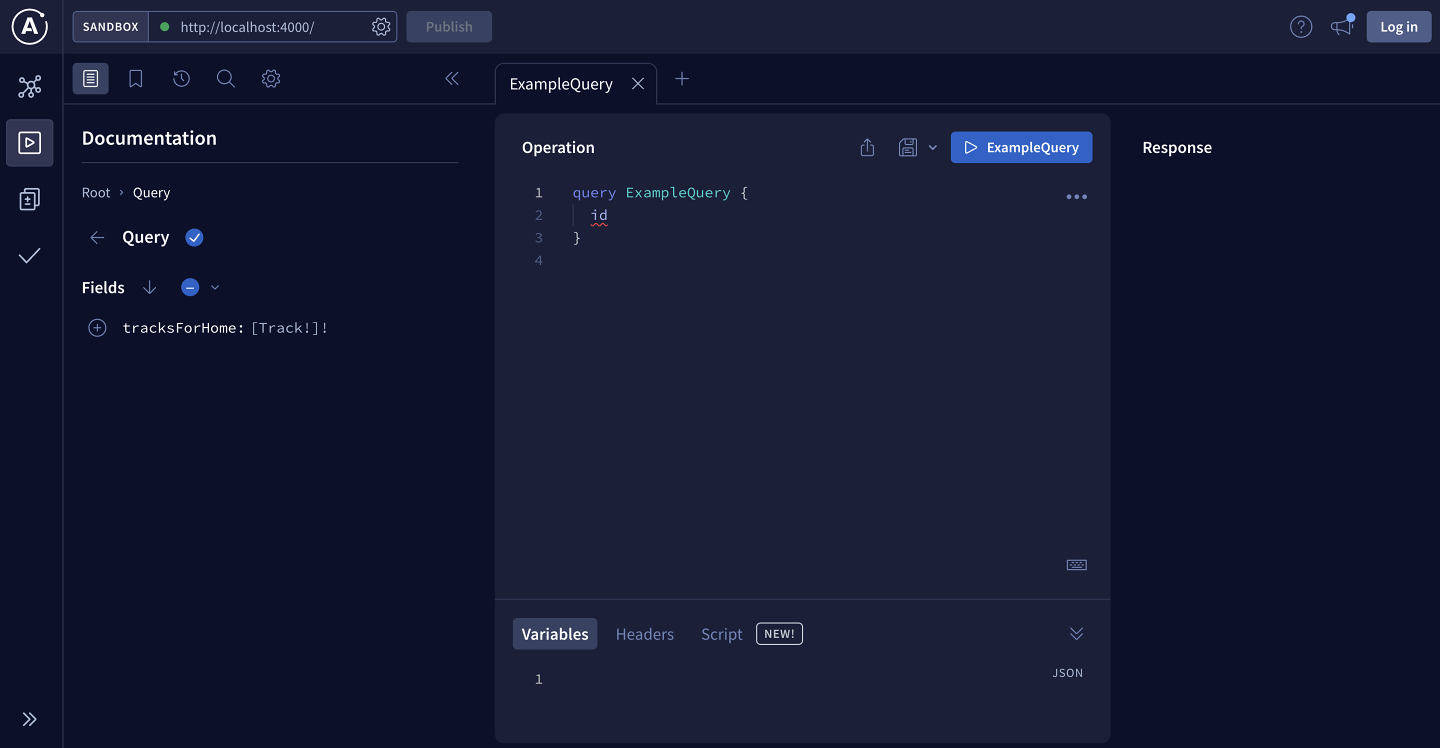
To write our queries, we'll be using the Explorer page in Apollo Sandbox. The Explorer is free to use, and it provides awesome development features like interactive query building, query history, and response hints. This will make building our queries fast and fun.
To open the Explorer in Apollo Sandbox, you can cmd+click on the URL in your terminal (from starting the server) to open it in your browser, or you can open it here: http://localhost:4000.
Ready to have fun? Let's get started!
Share your questions and comments about this lesson
Your feedback helps us improve! If you're stuck or confused, let us know and we'll help you out. All comments are public and must follow the Apollo Code of Conduct. Note that comments that have been resolved or addressed may be removed.
You'll need a GitHub account to post below. Don't have one? Post in our Odyssey forum instead.