Overview
In this section, we'll cover:
- Cloning the Workshop repository
- Creating a supergraph in GraphOS
- Publishing your schemas using Managed Federation
Prerequisites
- You will need a tool to clone the Github repository, either Github CLI (
gh) or plaingit - an email address to create your GraphOS account
- Apollo Rover installed in your local machine
Getting started
✏️ Clone the repository
In the directory of your choice with your preferred terminal, clone the workshop repository, which can be found at https://github.com/apollosolutions/fed-workshop-subgraphs-js.
git clone https://github.com/apollosolutions/fed-workshop-subgraphs-js
✏️ Set up your GraphOS account
1. Join the KBT Threads organization
To get started with our GraphQL journey, we need to login to the KBT Threads GraphOS account. You should have an email inviting you to join the account:
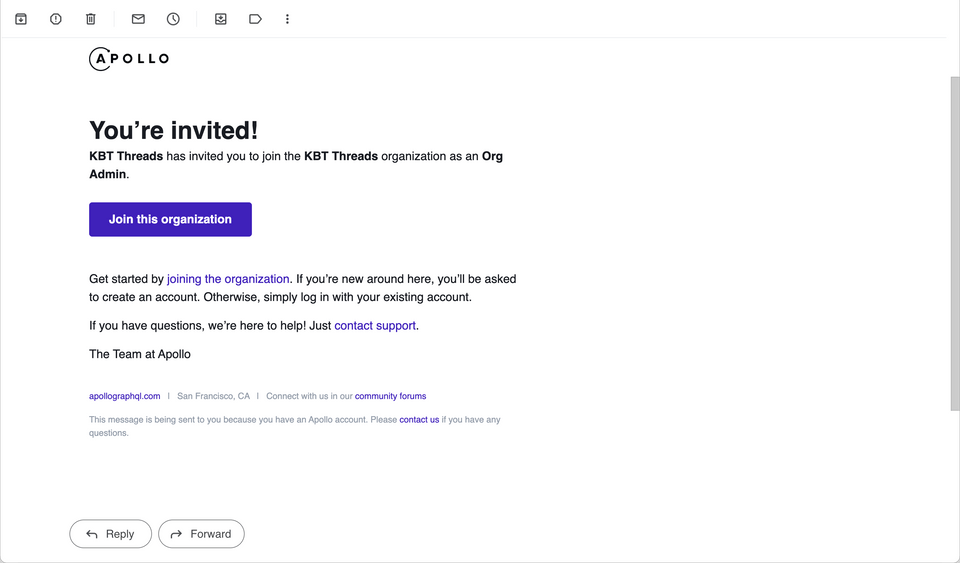
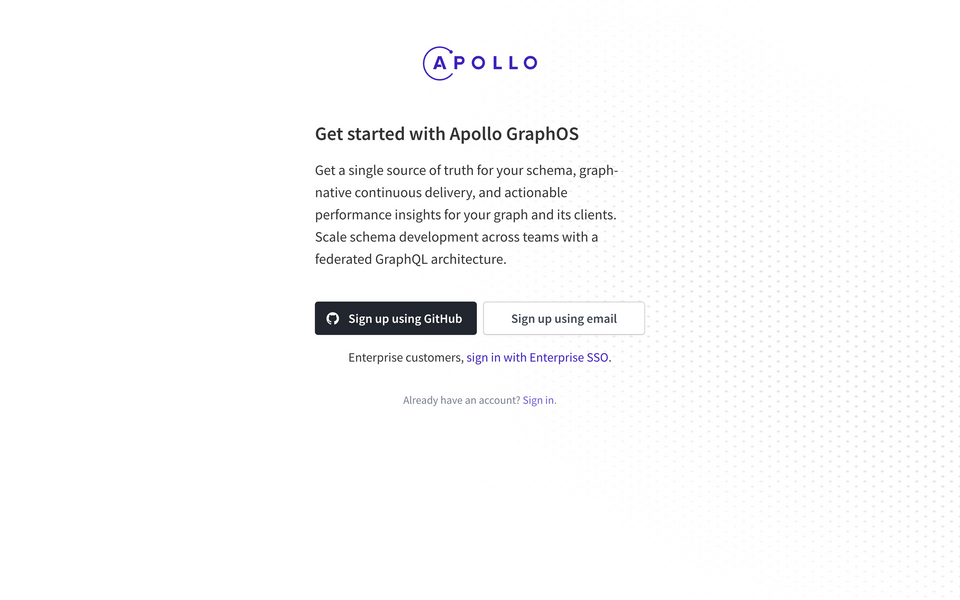
Click the link to join the organization. If you already have a GraphOS account, you can add this new organization to your existing account. If you don't have an account, you can create one with your email.
2. Create your Supergraph
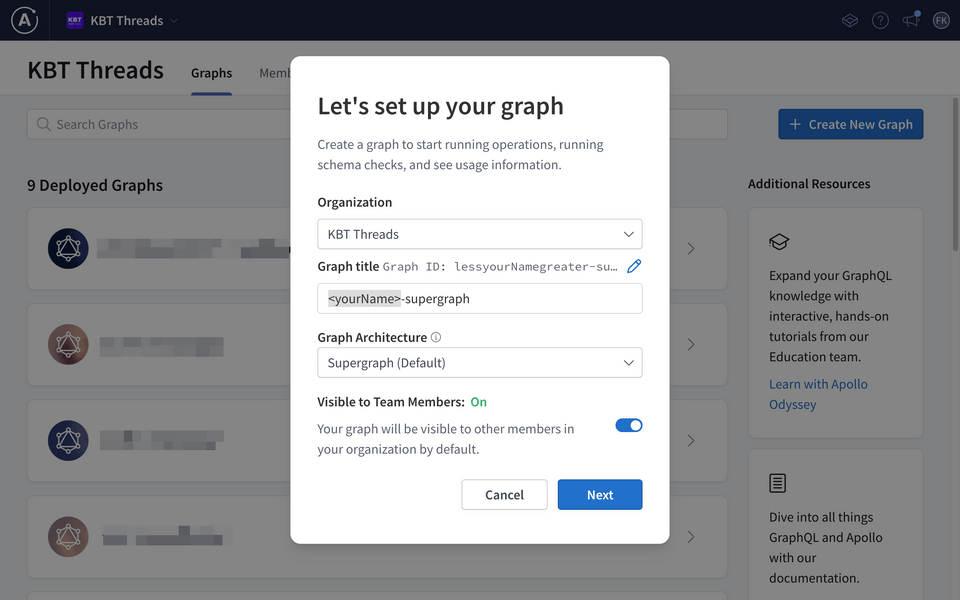
Once the account is created, click on the Create New Graph button to create a new graph inside this organization.
Name your new graph something distinct, such as <yourname>-supergraph, and then create the graph with the default Supergraph type.
✏️ Publishing schemas
With your graph created, but not yet setup, you should see something similar to the screenshot below:
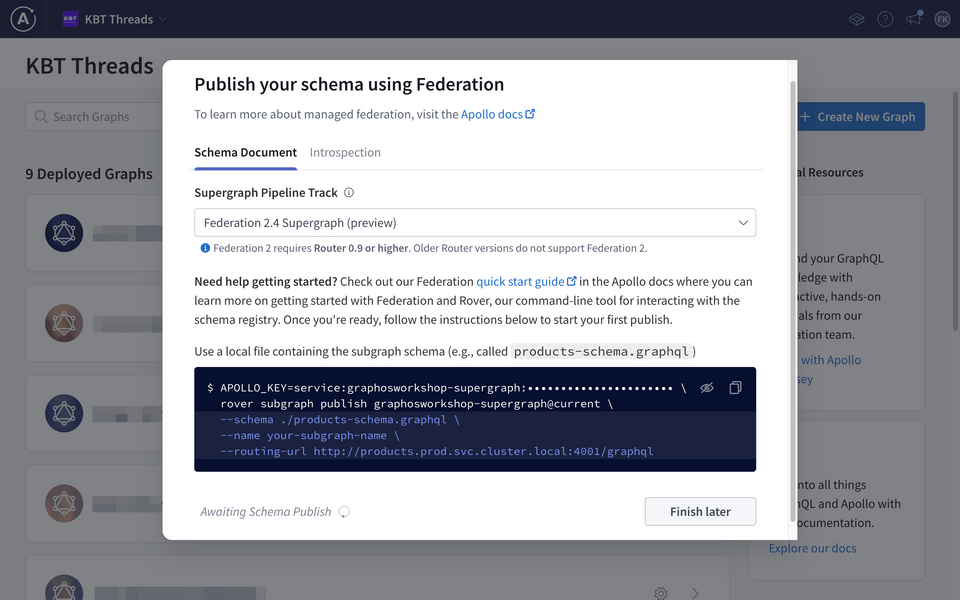
Important: Copy the APOLLO_KEY value and the GRAPH_REF value and save them for later. The GRAPH_REF in the screenshot above is graphosworkshop-supergraph@current.
Now that we have the API key and graph ref, it is time to add subgraphs to our supergraph. KBT Threads has two subgraphs already built and ready to go, the Customer subgraph and the Product subgraph.
Let's add those to the supergraph in GraphOS. We will do that on our local machine from the command line using Rover. Rover is Apollo's command-line interface for managing and maintaining graphs with the GraphOS management plane.
You will need to authenticate rover with your GraphOS account. To do that, you will need an API key. You can use the APOLLO_KEY mentioned above or you can head to your personal settings in GraphOS Studio and create an API key. Copy either and then execute the following command in a terminal:
rover config auth
Rover will then prompt you to paste the key you just copied, and make sure your pasted key is valid.
Publishing the subgraph schemas
Let's quickly recap the components in our diagram:
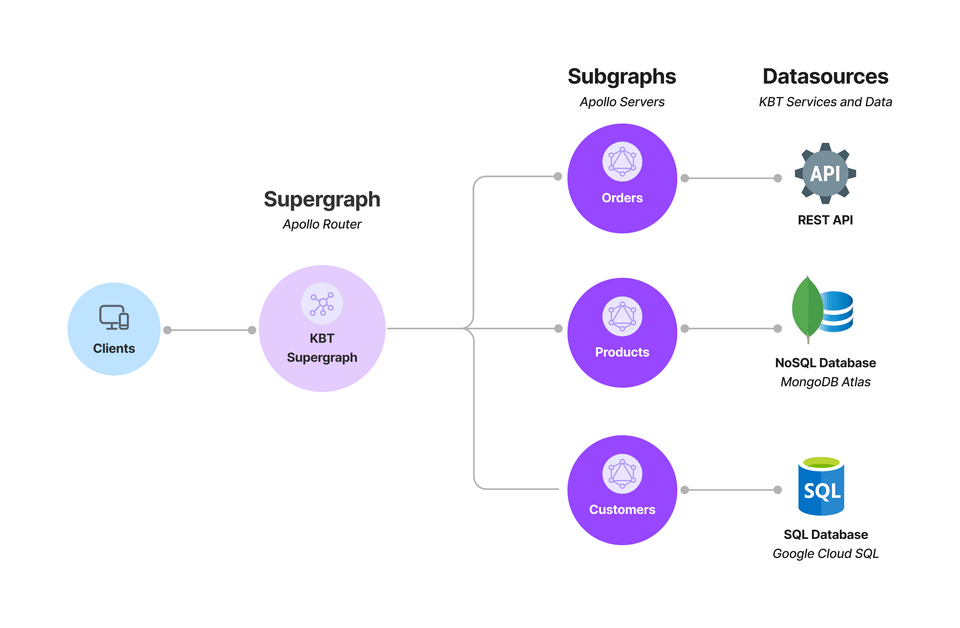
As you can see in the components above, we have the following subgraphs:
- Orders retrieves data from a REST API,
- Products retrieves data from a NoSQL database,
- Customers retrieves data from a SQL database
Each of these subgraphs provide their own GraphQL schema. Therefore, we need to publish them so they can be composed in our supergraph through Federation.
Your project structure should look similar to this (only folders are listed):
📦 fed-workshop-subgraphs-js/┣ 📂 deploy/┣ 📂 final/┣ 📂 nosql-products/┣ 📂 rest-orders/┣ 📂 sql-products/┣ 📂 website/┣ 📂 rest-orders/┣ 📂 router/┗ 📂 website/
✏️ Publishing the Products schema
In your terminal,
- from your project root folder, navigate to
./final/nosql-products/ - execute the following command:
rover subgraph publish <GRAPH_REF> \--schema ./schema.graphql \--name products \--routing-url https://subgraph-products-j3nprurqka-ue.a.run.app
Remember to replace the <GRAPH_REF> value with your own, which should have been copied in a previous step (should be in the form of <your-graph-name>@current).
✏️ Publishing the Customers schema
Back in your terminal,
- from your project root folder, navigate to
./final/sql-customers/ - execute the following command:
rover subgraph publish <GRAPH_REF> \--schema ./schema.graphql \--name customers \--routing-url https://subgraph-customers-j3nprurqka-ue.a.run.app
Remember to replace the <GRAPH_REF> value with your own, which should have been copied in a previous step (should be in the form of <your-graph-name>@current).
With the subgraphs successfully published, you should the following updated page:
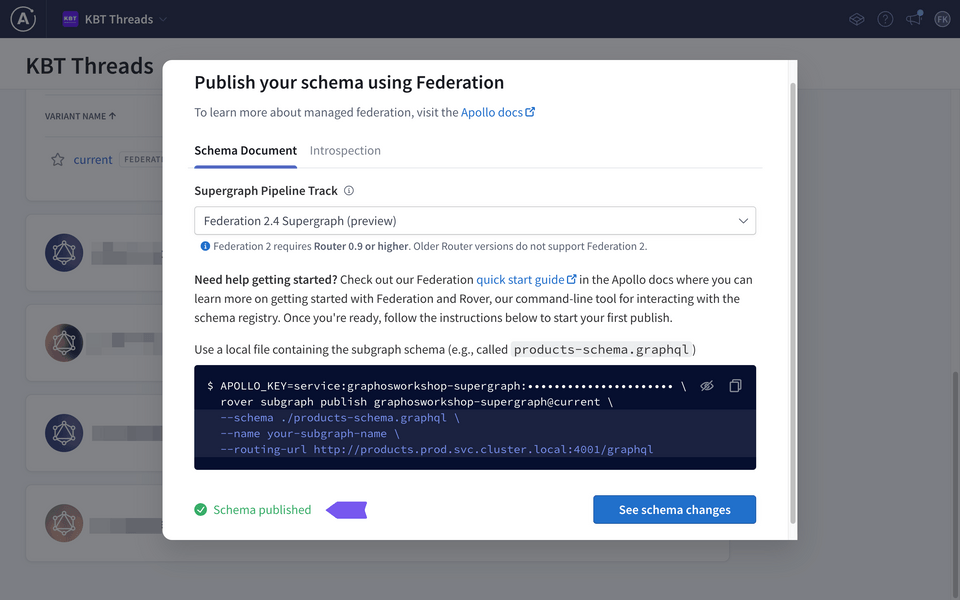
We can see that the schema has been successfully published. Let's review the schema changes: click the See schema changes button. This takes us to the launches tab inside GraphOS Studio.
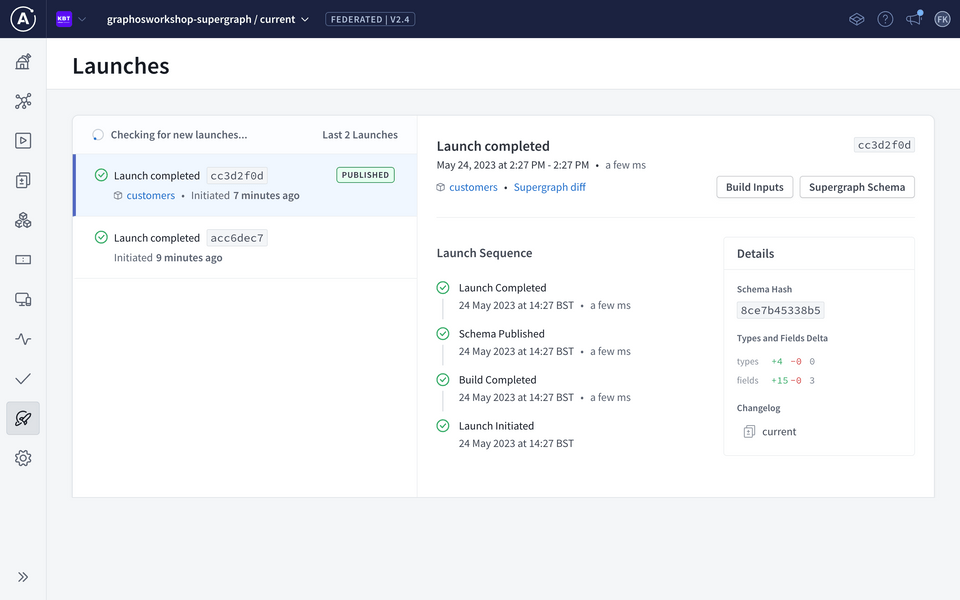
On the launches tab, we get our first view of what is happening to support our graph inside GraphOS. When we publish a subgraph to our GraphOS account via rover, the GraphOS schema registry takes that subgraph and generates a new supergraph automatically.
After that,
- GraphOS runs checks on the schema to verify that it will work for current consumers,
- the supergraph schema is published to the GraphOS schema registry, and
- this new supergraph schema is now available to our KBT supergraph
Now, to dive into our schema in more detail, we can go to the schema tab on the left navigation bar.
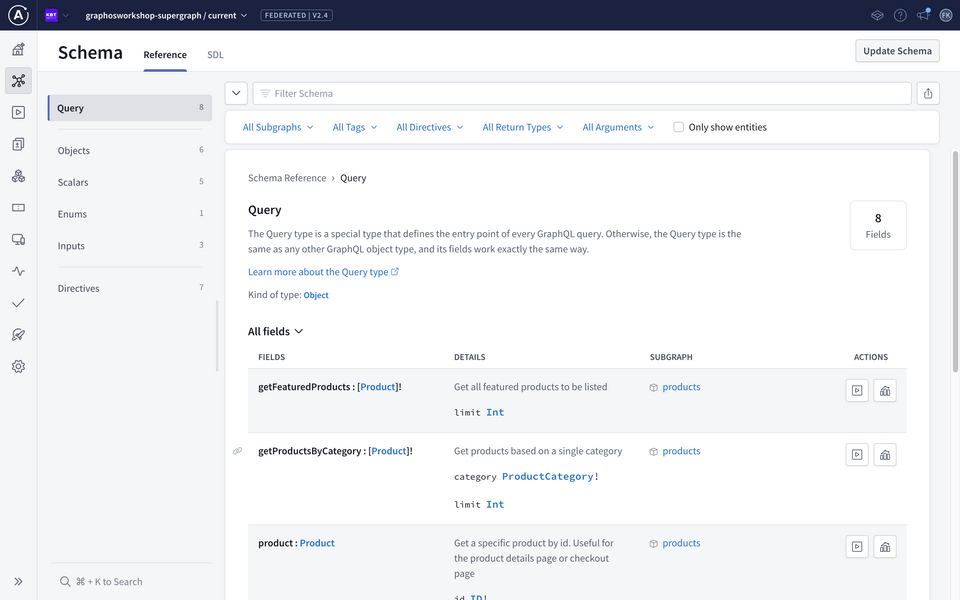
From here, we can view the schema in Schema Design Language (SDL) or in a more human readable reference format. Browse both versions, where you can see both the subgraphs that have been used to generate this supergraph schema along with the generated supergraph schema itself.
Up next
In the next section, Building the subgraphs we will build a subgraph that accesses a REST API.