Overview
In this lesson, we'll create a cloud-hosted supergraph in GraphOS! We'll be using GraphOS Studio (the web interface) to get started.
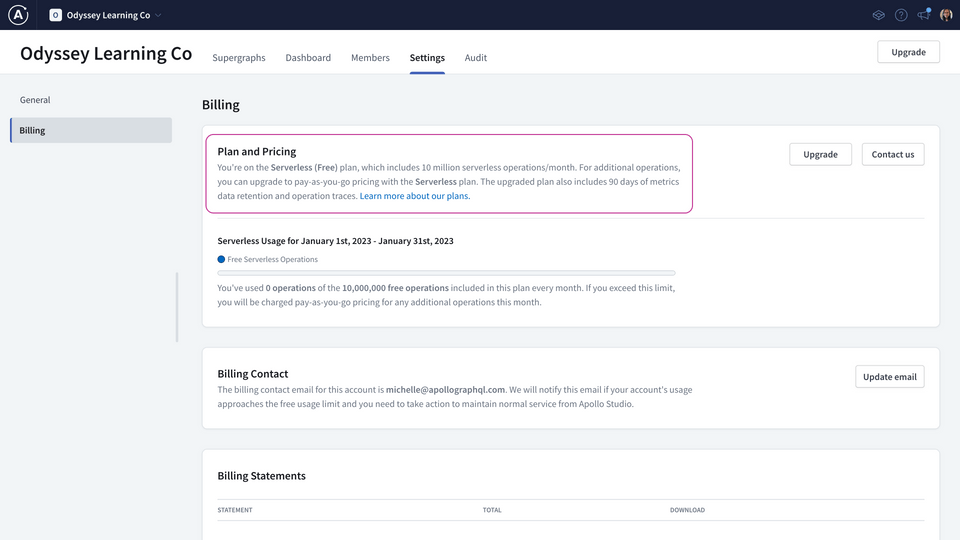
You'll need a GraphOS account with the Serverless plan.
Create a new supergraph
If this is your first time on Studio, then you'll see a page that looks like this:
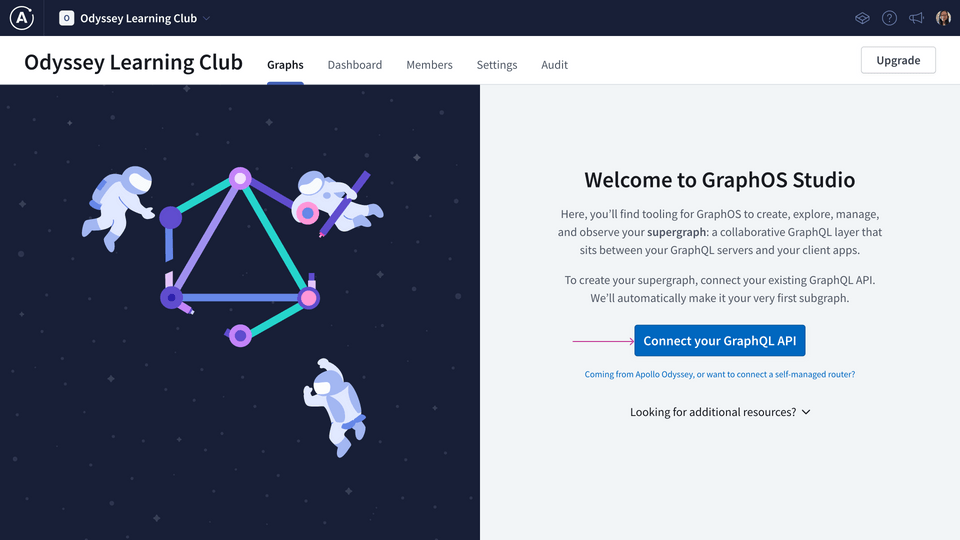
Click on the Connect your GraphQL API button.
Step 1: Your GraphQL API
The first thing we need is the endpoint URL of our GraphQL API. Let's paste it in.
https://poetic-plates-recipes-api.herokuapp.com/
Next, the subgraph name. It should be clear and simple. We could name it "Poetic Plates", the same name we've been calling our API so far. But subgraphs are usually focused on a specific business domain, and this one is focused on content about recipes, so that would be a better name to use!
recipes
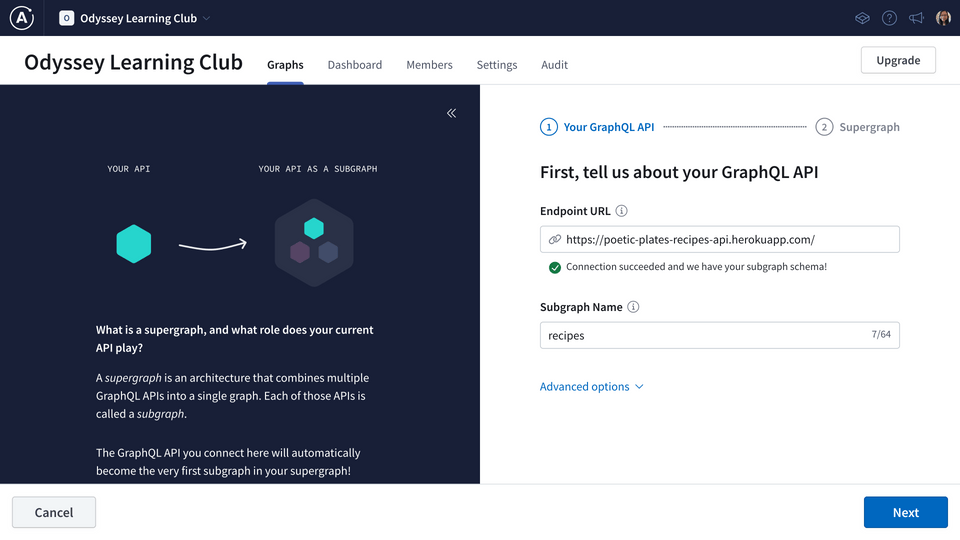
Remember, this will become the first subgraph of our supergraph!
Hit Next.
Step 2: Supergraph
On this step, we'll pick a short ID and a name for our supergraph.
The supergraph ID will be used to reference your supergraph from various tools later on. It CANNOT be changed, so let's make sure to pick a good one!
The supergraph name however, you can change at any time. It's displayed throughout Studio and it's usually how you refer to your supergraph with your teammates.
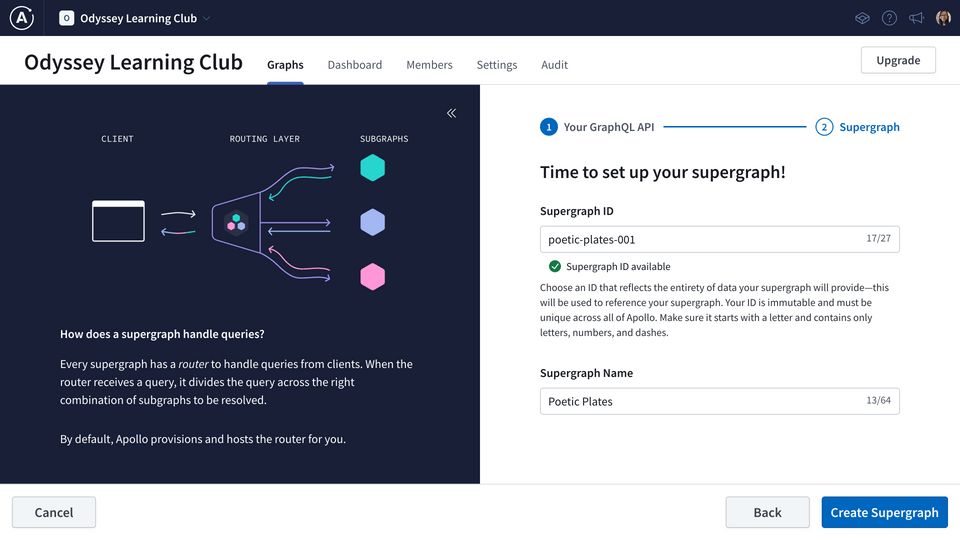
In our case, we're going to go with the name "Poetic Plates". The supergraph ID will be named similarly.
Alright, let's hit Create Supergraph.
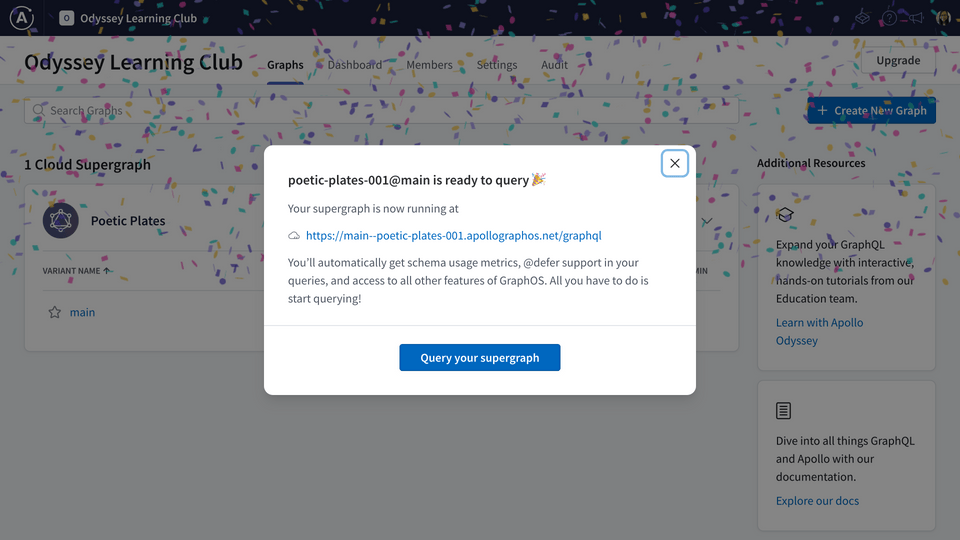
It'll take just a few moments for GraphOS to provision and host the router for us.... and now we're cooking!
Key takeaways
- To create a supergraph, you need your GraphQL API endpoint. This becomes the first subgraph of your supergraph.
- GraphOS takes care of provisioning and hosting the cloud router for you.
- We recommend keeping subgraph names clear and simple. Each should describe the domain it's focused on.
Up next
That was a piece of cake! With our supergraph set up, we're ready to start sending it queries!
Share your questions and comments about this lesson
Your feedback helps us improve! If you're stuck or confused, let us know and we'll help you out. All comments are public and must follow the Apollo Code of Conduct. Note that comments that have been resolved or addressed may be removed.
You'll need a GitHub account to post below. Don't have one? Post in our Odyssey forum instead.
