Overview
We started small, exposing Airlock's data about listings. Now it's time to grant the MCP server access to more of our data. Let's add a new domain.
In this lesson, we will:
- Supplement our API with a whole new accounts domain
- Rerun the server process with new operations
- Observe how Claude invokes multiple tools to resolve user requests
The accounts API
Though we've focused on its listings API, Airlock consists of a number of other subgraphs, which are GraphQL services responsible for specific domains.
One of these subgraphs is all about accounts—it's running here at the following URL:
https://rt-airlock-subgraphs-accounts.herokuapp.com/
To start, we need to update our rover dev process. We'll add accounts as a new subgraph in our API, along with its routing details.
Let's jump back into our server, and add this new service.
Adding accounts
In our code editor, open up supergraph.yaml. We'll add a new line under the subgraphs property for accounts.
We'll provide both the routing_url and schema properties, but rather than pointing to a local schema file we'll allow the rover dev process to introspect our schema from the running accounts API.
Here's what your configuration should look like:
federation_version: =2.10.0subgraphs:listings:routing_url: https://rt-airlock-subgraphs-listings.herokuapp.com/schema:subgraph_url: https://rt-airlock-subgraphs-listings.herokuapp.com/accounts:routing_url: https://rt-airlock-subgraphs-accounts.herokuapp.com/schema:subgraph_url: https://rt-airlock-subgraphs-accounts.herokuapp.com/
Note that the line for accounts should match the same indentation as the line with listings.
Adding a tool for user details
We still need to equip the assistant with the ability to provide details about a listing's host. For this, we'll provide a new tool all about user details.
In the operations directory, create a new file called userDetails.graphql and paste the contents of the operation below.
📂 odyssey-apollo-mcp┣ 📂 operations┃ ┣ 📄 featuredListings.graphql┃ ┣ 📄 listing.graphql+ ┃ ┗ 📄 userDetails.graphql┗ 📄 supergraph.yaml
query GetUser($userId: ID!) {user(id: $userId) {idnameprofilePicture... on Host {profileDescription}}}
This query takes in a particular user ID and returns fields for the user's id, name, and profilePicture. And, in the event that our user is a Host type (one of the types that implements the User interface), we'll return profileDescription as well.
Finally, we'll add this new operation to the config file.
operations:source: localpaths:- ./operations/featuredListings.graphql- ./operations/listing.graphql- ./operations/userDetails.graphql
Updating MCP operations
Return to the terminal where you're running rover dev. We'll stop the process, then restart it so it picks up our new configuration.
rover dev --supergraph-config ./supergraph.yaml \--mcp ./mcp-config.yaml
Now return to the MCP Inspector running at http://127.0.0.1:6274/ and do a hard refresh on the page. Then click Connect, and List Tools. Our new GetUser operation should be in the list!
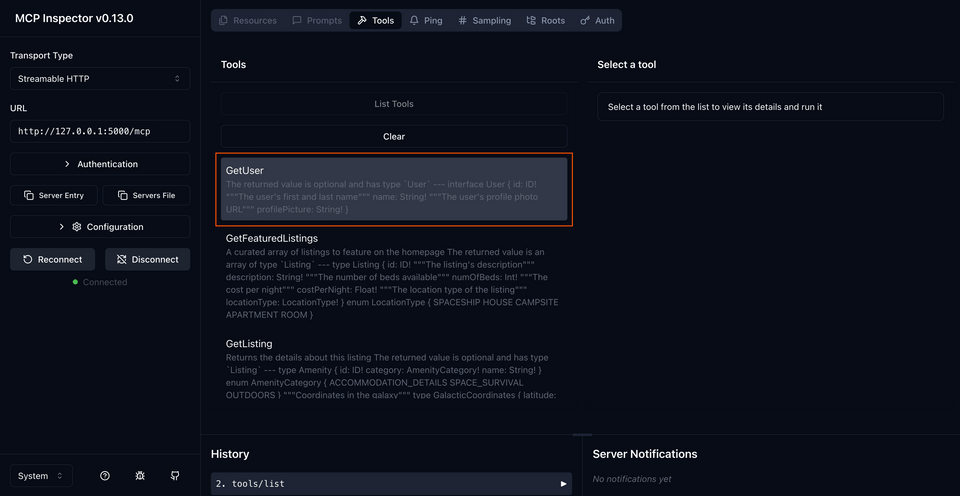
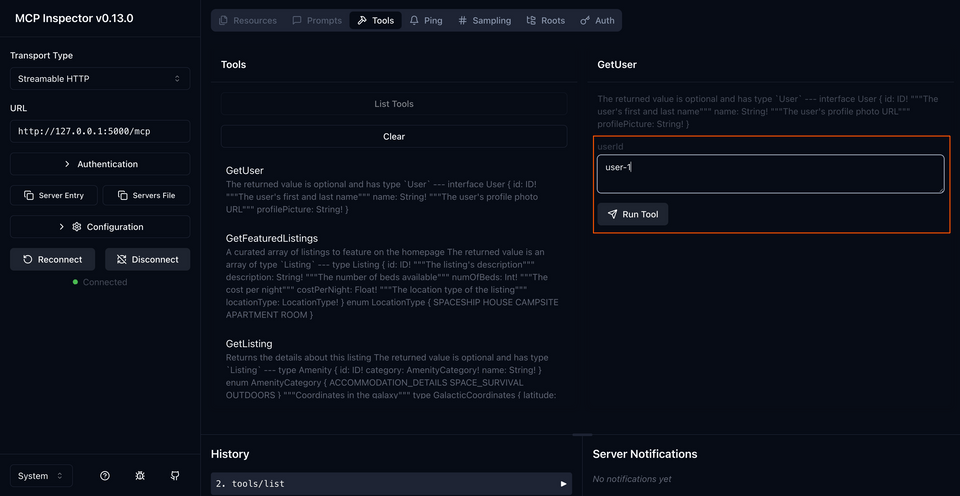
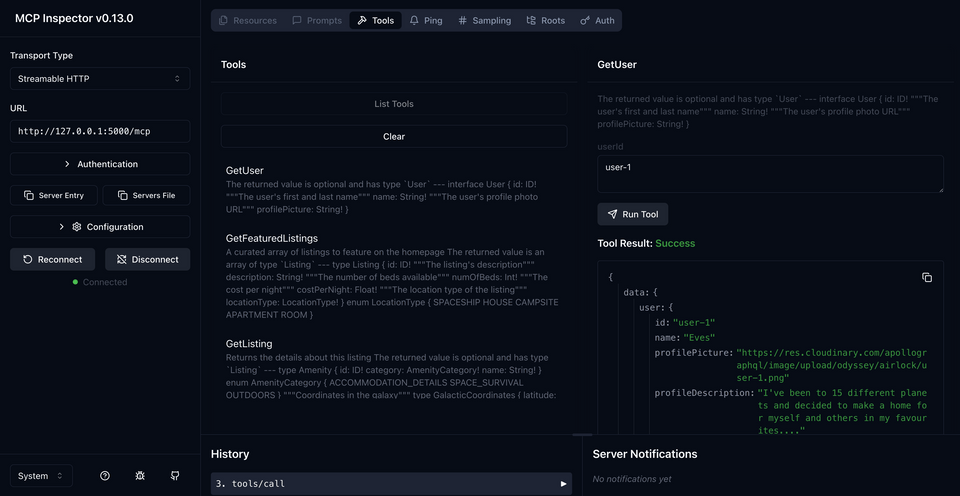
Let's take it for a test drive. Click on the tool, then fill in the userId input with "user-1". Then, click Run Tool!
And data! If everything's looking green, let's test things out in Claude.
Updating Claude
Back in Claude—you know the drill! Let's quit the application, and reopen it.
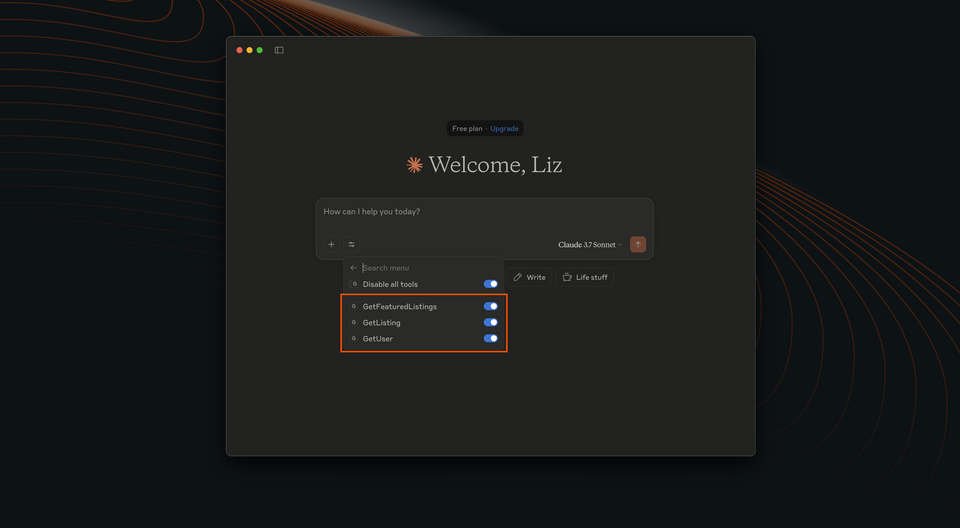
When we reopen the application, we should see a new tool registered under the airlock dropdown.
Let's walk through that whole chat sequence one more time!
Time to chat!
We're going to put Claude to the test one last time. Here's the first question we'll start with.
Hey, can you tell me about Airlock's featured listings?
When the modal pops up to permit the GetFeaturedListings tool, click Allow once. Featured listings data... check! ✅
Next, a follow-up question:
Can you tell me more about the Repurposed Aircraft Spaceship?
Click Allow once on the modal when it pops up again. And... whoa! Another modal!
Though we can't guarantee your Claude application did the same thing as ours, it's very likely that Claude will "take initiative" and invoke another tool automatically: the GetUser tool we just added!
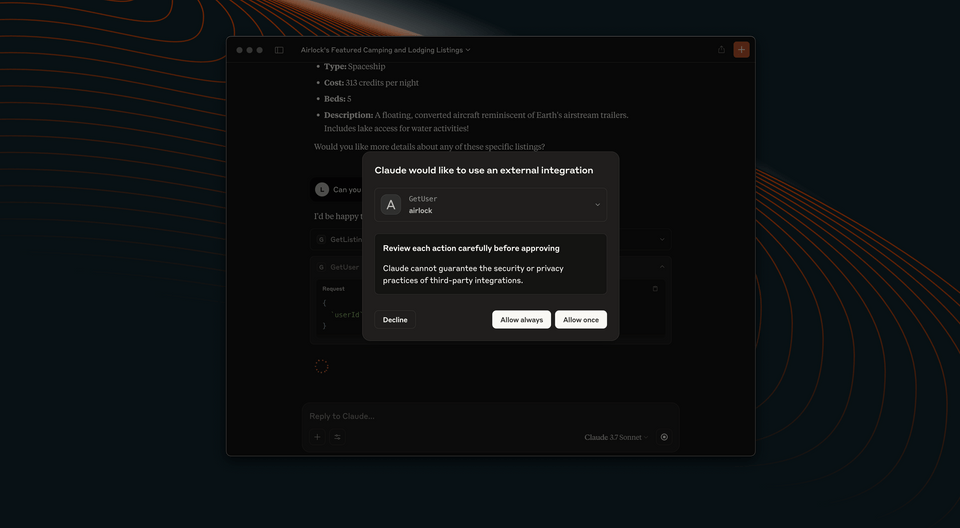
After getting some data back about the particular listing, Claude must have seen that the id field was all the information it received about the host. Taking this id value, it then turned to another handy tool in its toolbox: GetUser, which promises to deliver a bit more detail about the user in question. All Claude had to do was supply the id!
Let's permit this tool to be invoked, and see what Claude comes up with.
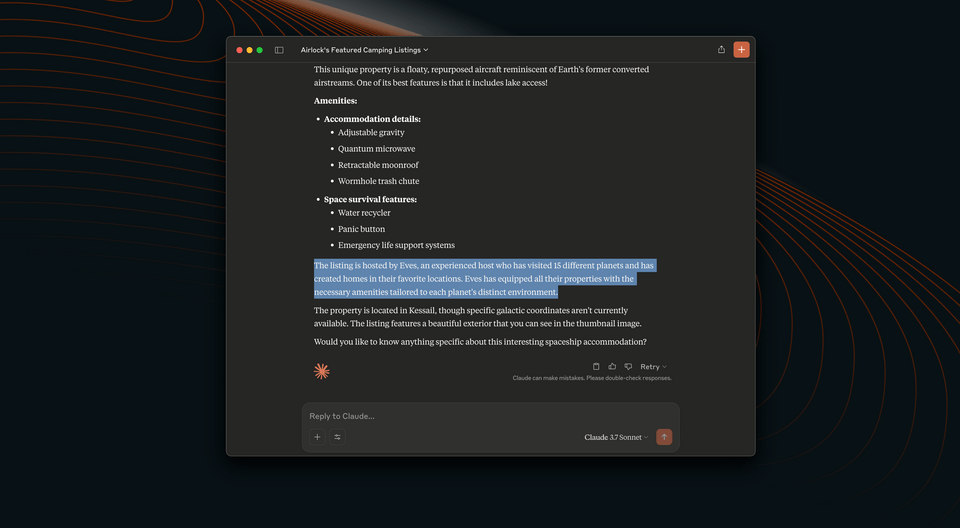
And right alongside the listing details, we see extra information about our host! Way to go, Claude! ✅✅
Practice
accounts API to our server?Key takeaways
- To add a new domain to our MCP server, we can include its details in the
supergraph.yamlfile. - By equipping AI assistants with multiple tools, they can respond to user questions more thoroughly, and use data from one request as a parameter in follow up requests.
Journey's end
You made it to the finish line! We've successfully equipped an MCP server with several tools that AI assistants can invoke to get the information they need. We've even seen how an assistant manages to invoke multiple tools with parameters, using data it received from earlier requests (such as a listing or user ID) to get bonus details to help the user.
But this is only just the beginning: we can continue to grow our API, adding new domains, capabilities, and of course operations that our MCP server can run when an assistant requests it. We've given assistants more robust means of helping our users, all the while keeping our systems (and the data they house) secure. Thanks for joining us here on Odyssey, and we hope to see you in the next one!
Share your questions and comments about this lesson
This course is currently in
You'll need a GitHub account to post below. Don't have one? Post in our Odyssey forum instead.