Overview
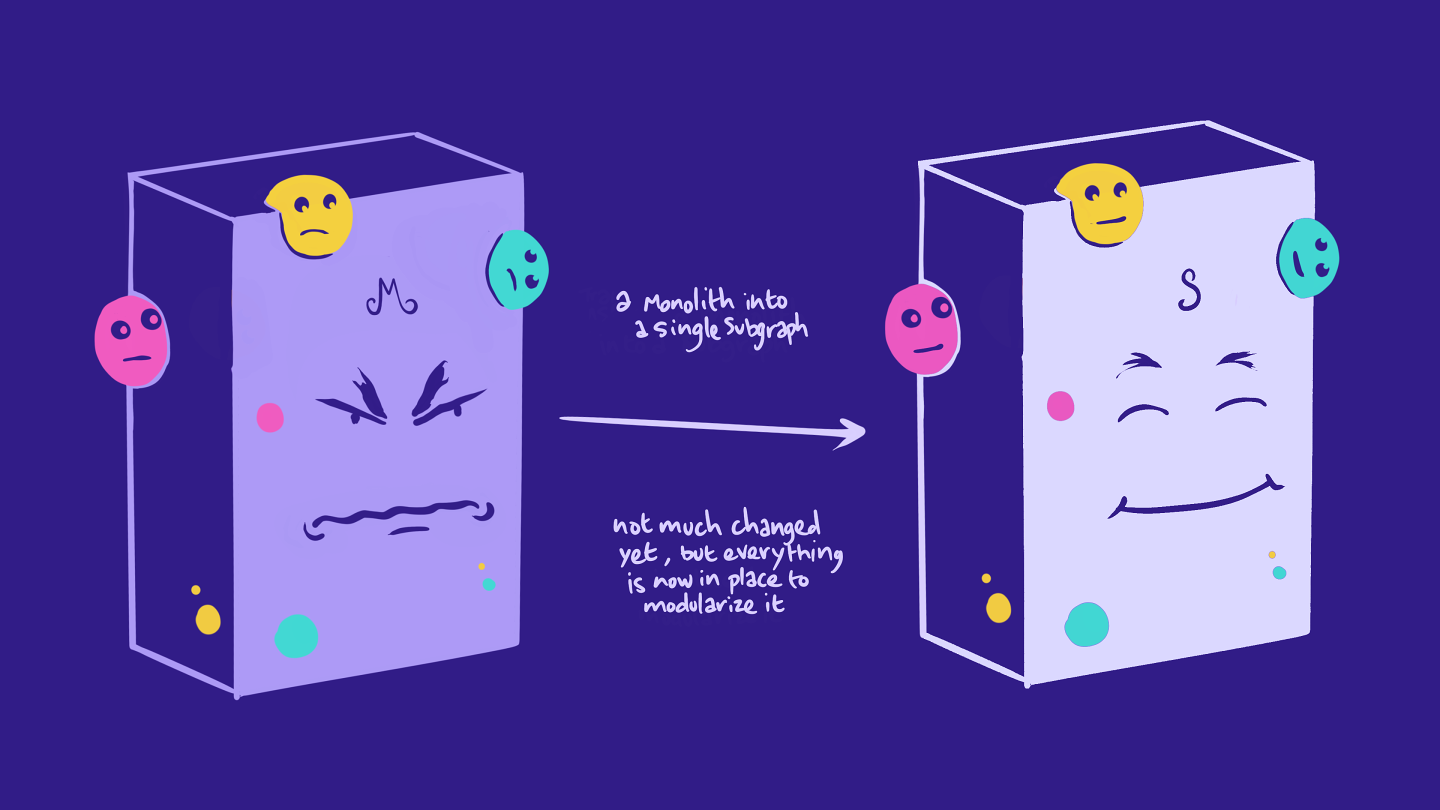
In this lesson, we're going to tackle the first step for migrating our monolith app into a supergraph. We'll start by converting the monolith server into a single subgraph, which will run on a different port. Along the way, we'll also:
- Review how to create a subgraph using Apollo Server
- Publish our first subgraph to GraphOS

✅ Service check
Let's make sure all of our processes are still running from the previous lesson.
- One terminal should be running
npm start, to start the monolith server on port 4000. - Another terminal should be running
npm run launch, to start our services in the monolith directory on ports 4010 and 4011.
✏️ Importing packages
Let's stop the main monolith server process with
CTRL+C.Then, install the
@apollo/subgraphpackage.monolithnpm install @apollo/subgraphThis directory contains an
index.jsfile, which is running our monolith server. Let's adjust it slightly to turn it into a monolith subgraph server instead.To make this server a subgraph, we'll need to import the
buildSubgraphSchemamethod from the@apollo/subgraphpackage. Add the following line to the imports in yourindex.jsfile:monolith/index.jsconst { buildSubgraphSchema } = require("@apollo/subgraph");
✏️ Updating the monolith server
Next, let's modify our ApolloServer instance. Right now, we pass our typeDefs and resolvers directly to the ApolloServer constructor.
const server = new ApolloServer({typeDefs,resolvers,});
To convert this server into a subgraph, let's define a schema property in the constructor instead. We'll use the buildSubgraphSchema method, as we did in the first course, passing it an object that contains the typeDefs and resolvers.
const server = new ApolloServer({schema: buildSubgraphSchema({typeDefs,resolvers,}),});
While we're here, let's also set our server to listen on port 4001 (a different port from where it was originally running!). We want the monolith subgraph to use a different port because, as we outlined in our migration plan, we'll set up the GraphOS Router to take over port 4000. This way, the client doesn't need to make any changes to communicate with the GraphQL server.
Set up the server's listen function to run on port 4001.
- const port = 4000;+ const port = 4001;
✏️ Federation 2 subgraph schema definition
We'll want to make sure to opt in to the latest Federation 2 features for this subgraph. Open up the schema.graphql file in the same monolith directory and add the following snippet at the top:
extend schema@link(url: "https://specs.apollo.dev/federation/v2.7",import: ["@key"])
With this line, we can specify the various directives we'd like to use within our schema file (such as @key, as shown in the import).
With that, we're ready to restart our monolith server process!
npm start
We'll see some output in our console and then the message "🚀 Server ready at http://localhost:4001/".
Testing the monolith subgraph
Let's visit that URL http://localhost:4001 in the browser to open up Apollo Sandbox again. Let's try out the same query from the previous lesson to make sure everything is still working as before!
query GetAllAmenities {listingAmenities {categoryname}}
After running the query, we can see data showing up in the Response panel on the right. Great, we know it's working! By transforming the monolith schema into a subgraph, we know that all of our schema's types, fields, and features are still preserved and intact.
We've got our first subgraph ready, so the next step is to publish it to the registry!
Publishing our subgraph
Recall that the rover subgraph publish command looks like this:
rover subgraph publish <APOLLO_GRAPH_REF> \--schema <SCHEMA_FILE_PATH> \--name <SUBGRAPH_NAME> \--routing-url <SERVER_URL>
Let's publish this subgraph!
Tip: We're going to be using a few different Rover commands as we go through the course. You can create a new file to store these commands and copy-paste them to the terminal when you need them, or you can incorporate them into scripts to run in the package.json file.
Open up a new terminal window in the root directory and run the command below, substituting the values of the APOLLO_GRAPH_REF flag to match your own. We're going to name this subgraph monolith.
rover subgraph publish <APOLLO_GRAPH_REF> \--schema ./monolith/schema.graphql \--name monolith \--routing-url http://localhost:4001
We'll get a message asking if we want to publish with a localhost URL.
The host `localhost` is not routable via the public internet.Continuing the publish will make this subgraph reachable in local environments only.Would you still like to publish? [y/N]
We're in tutorial land, so we're working with local endpoints for now. Type y and hit enter.
Uh-oh... when we run the command, we'll see that we get an error back in the terminal! (You'll see the value of your own APOLLO_GRAPH_REF variable in place of the flag below.)
error[E007]: The graph `[APOLLO_GRAPH_REF]` is a non-federated graph.This operation is only possible for federated graphs.If you are sure you want to convert a non-federated graph to a subgraph, you can re-run the same command with a `--convert` flag.
But what went wrong?
Well, when we set up our graph, we chose a monolith architecture, which created a non-federated graph. This was suitable for our purposes at the time, but now that we're breaking down the monolith into subgraphs, we need to make sure our graph is federated.
Let's try that command again, this time including the --convert flag, as the error message suggests.
rover subgraph publish <APOLLO_GRAPH_REF> \--schema ./monolith/schema.graphql \--name monolith \--routing-url http://localhost:4001 \--convert
The addition of the --convert flag at the end will tell Studio to convert the existing graph into a supergraph.
And now we should see that the command ran successfully, and our subgraph was published!
A subgraph is born!
In the browser, let's get back to the graph in Studio. We'll see a new label at the top indicating that it's federated, along with the specific federation version.

Let's navigate to the Subgraphs page. We can see we have one subgraph, monolith and all its details. (If you don't see the Subgraphs menu option, try refreshing the page!)

That's step 1 done!
Practice
Key takeaways
- We set up the monolith subgraph to use port
4001because, as we outlined in our migration plan, we want the router to take over port4000. (Don't worry—we haven't gotten there yet!) This way, the client doesn't need to make any changes to communicate with the router. - To convert an existing graph in Studio into a supergraph, we use the same
rover subgraph publishcommand to publish a schema, and add a--convertflag.
Up next
Let's review our migration plan. We can successfully check off the first step, so let's see what's up next:
- ✅ Convert the monolith GraphQL server into a subgraph server, which we'll run on a different port. This subgraph will be published to the schema registry.

➡️ Create a router running on the monolith's original port. The router will be connected to the schema registry and will handle all of the same queries that were previously being sent to the monolith server.
Start to split off small chunks of our single monolith subgraph into new domain-specific subgraphs. This will take several steps, which we'll explain in more detail later on.
The next step is to configure the GraphOS Router. This router needs to handle authentication and authorization in Airlock, so let's learn about how that works in the next lesson.
Share your questions and comments about this lesson
Your feedback helps us improve! If you're stuck or confused, let us know and we'll help you out. All comments are public and must follow the Apollo Code of Conduct. Note that comments that have been resolved or addressed may be removed.
You'll need a GitHub account to post below. Don't have one? Post in our Odyssey forum instead.