Overview
We're nearing the end! In this lesson, we will:
- Run a few queries to test our changes
- Publish the new
accountsschema to GraphOS
Testing our changes
We've got a few queries to test. We'll run each query in our locally-running Explorer at http://localhost:4000 and make sure we get data back. We'll also take a peek at the query plan to verify the correct fields are coming from the accounts subgraph.
Testing a root field
query GetMyProfile {me {idnameprofilePicture... on Host {profileDescription}}}
Make sure your Headers are set to:
Authorization: Bearer user-1
You should get back:
{"data": {"me": {"id": "user-1","name": "Eves","profilePicture": "https://res.cloudinary.com/apollographql/image/upload/odyssey/airlock/user-1.png","profileDescription": "I've been to 15 different planets and decided to make a home for myself and others in my favourites. Each planet and location has its own distinct environment, so read the description carefully. I have equipped them all with the necessary amenities."}}}
And the query plan should show these types and fields coming from the accounts subgraph!

Testing a listing's host
query GetListingHost {listing(id: "listing-1") {host {nameprofilePictureprofileDescription}}}
You should get back:
{"data": {"listing": {"host": {"name": "Eves","profilePicture": "https://res.cloudinary.com/apollographql/image/upload/odyssey/airlock/user-1.png","profileDescription": "I've been to 15 different planets and decided to make a home for myself and others in my favourites. Each planet and location has its own distinct environment, so read the description carefully. I have equipped them all with the necessary amenities."}}}}
Testing a review's author
query GetListingReviewsAuthor {listing(id: "listing-1") {reviews {author {idname}}}}
The query plan should show the listing and reviews fields coming from the monolith subgraph, and the author fields coming from the accounts subgraph!

Feel free to play around with some other queries and examine the corresponding query plan!
Publishing our subgraph schemas
Ready to bring these changes to our supergraph? Let's go, you know the drill!
In a terminal window, from the root directory, run the following:
rover subgraph publish <APOLLO_GRAPH_REF> \--schema ./subgraph-accounts/schema.graphql \--name accounts
Remember to replace the <APOLLO_GRAPH_REF> value with your own!
Testing our changes
Feel free to run the same operations as in the earlier section (refer back to Lesson 5 where we ran the router locally) to make sure everything's working correctly!
Let's head over to the Schema page and scroll down the list to find the me and user fields. We can see that the accounts subgraph is now listed together with the monolith column.

Returning to the client
We should still have our client application running on port 3000. If not, navigate to the client directory and run npm start.
Returning to the app, however, we see an error on the homepage!

When we check out the errors in the console, we'll find a message that might be familiar from the first course in this series.
Access to fetch at 'http://localhost:4000' from origin 'http://localhost:3000'has been blocked by CORS policy
In Voyage I, we saw how to modify our router's config.yaml file to allow requests from a client to reach our supergraph. Let's add the CORS options to our config.yaml file now to permit our client app at http://localhost:3000 to talk to our router.
CORS configuration
Open up router-config.yaml in the server's router directory. At the bottom of the file, we'll add the following configuration:
include_subgraph_errors:all: true # Propagate errors from all subgraphsheaders:all:request:- propagate:named: "Authorization"cors:origins:- http://localhost:3000 # Allows any locally-running client to run against your Router- https://studio.apollographql.com # Allows Studio to still run queries against your Router
These rules will continue to allow requests from Studio to reach our supergraph, and will now also permit requests from our frontend app.
Navigate to the terminal where your router is currently running. Stop the server process, and then restart it. When we refresh http://localhost:3000, we'll see that we're getting data back!

Over time, as we monitor the performance of the accounts subgraph and deem it successful, we'll reach a point where we can safely remove the fields in the monolith subgraph. Then, we can remove the @override directive entirely!
Note: If you used progressive override, you would slowly increase the traffic going into the overriding subgraph until it reached 100%. At that point, you can safely remove the fields in the other subgraph.
Key takeaways
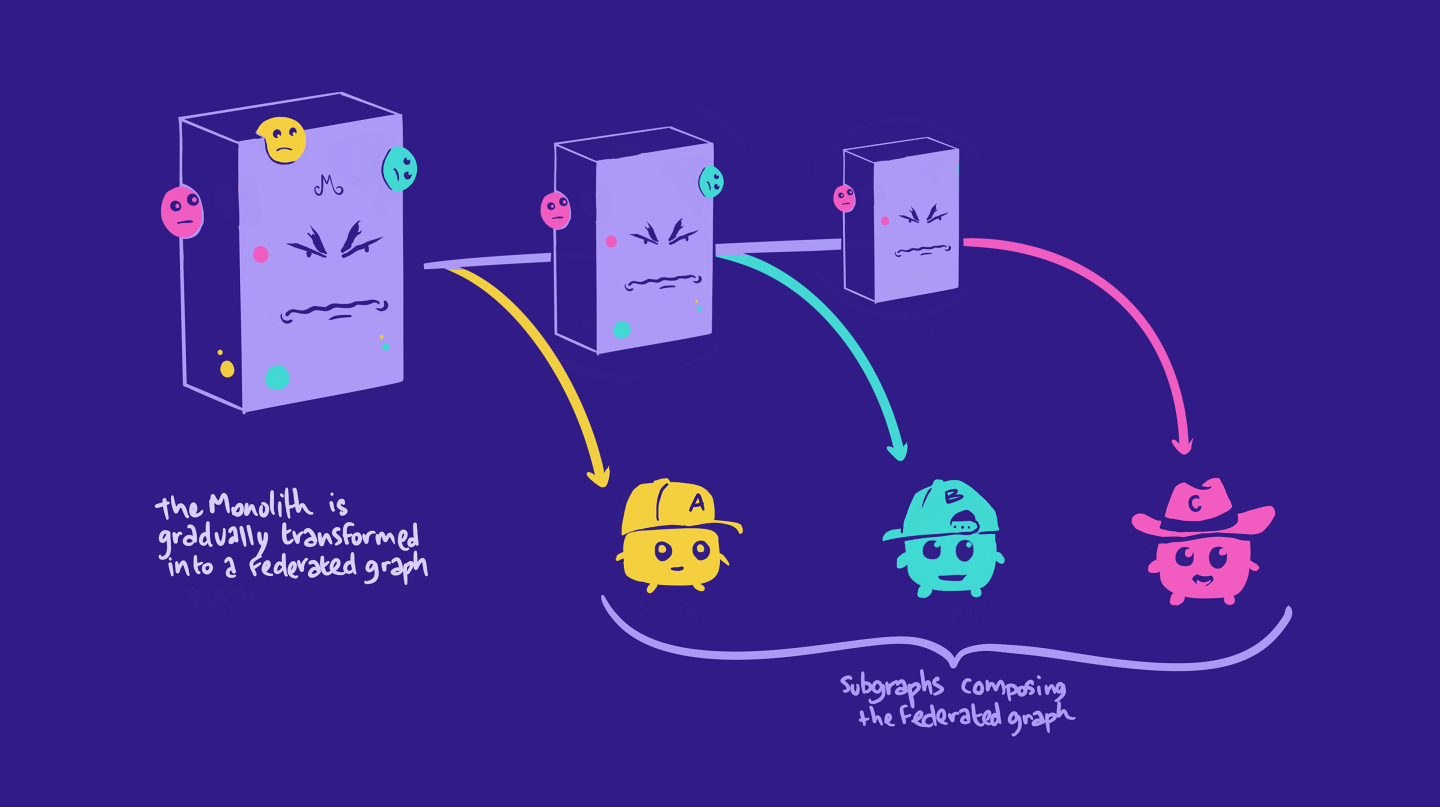
- Splitting off subgraphs incrementally enables teams to reap the benefits of federation sooner.
- Use the
@overridedirective to migrate fields safely between subgraphs. - The router configuration file takes an option to define a CORS policy, which allows the origins you specify to communicate with your router.
Checking in with the Airlock team
Congratulations, we're on our way to a complete supergraph! Remember our monolithic monster at the beginning of the course that teams were intimidated by and struggling with? Let's see what they have to say about it now:
👩🏽🚀 The Accounts Team says:
"It's great being able to focus on our own subgraph responsibilities! We're much faster at making changes and pushing updates compared to before. Excited for the new features incoming!"
👩🏽🏫 The Listings Team says:
"With the
accountssubgraph completed, the monolith schema is a little more manageable. We're excited to get our team's domain responsibilities on our own subgraph too! The heavy lifting was already done for us with the router setup and the first subgraph out of the way, so we can use that as a blueprint to get our ownlistingssubgraph started."
Amazing, we've made big leaps and improvements to the developer experience that will set us up for great things to come in Airlock's future!
Conclusion
In this course, we learned the process of how to migrate from a monolith graph to a supergraph. We first converted the original graph into one large subgraph, which we published to GraphOS. Then, we installed and ran a router using the same URL as the original graph, so that the client wouldn't need any changes.
We learned how to prepare and plan for splitting subgraphs by identifying entities, grouping entities, and sorting out which types and fields belong where. We started with the accounts subgraph, learning how to use a stub subgraph to get started. Then we used the @override directive to safely migrate fields over from the monolith subgraph to the accounts subgraph.
We've still got four more subgraphs to go before our supergraph is complete, and you have all the tools you need to tackle those!
In the next course of the Voyage series, we'll take a look at how to bring Airlock to production and how to use GraphOS features like variants, schema checks, and observability. See you in Voyage III: Federation in Production!
Share your questions and comments about this lesson
Your feedback helps us improve! If you're stuck or confused, let us know and we'll help you out. All comments are public and must follow the Apollo Code of Conduct. Note that comments that have been resolved or addressed may be removed.
You'll need a GitHub account to post below. Don't have one? Post in our Odyssey forum instead.