Overview
In this lesson, we'll get our development environment set up and Airlock up and running as a monolith graph. By the end of this lesson, we will:
- Learn how the backend GraphQL server is organized
- Learn what services and data sources the server uses
- Have both the server and client running on our local machine
- Set up the graph on GraphOS
- Set up the Rover CLI
Prerequisites
Our app uses Node.js on the backend and React on the frontend. We recommend using the latest LTS version of Node. To check your Node version, run node -v.
You'll also need to be comfortable with running commands in the terminal, such as navigating between directories and running scripts.
Additionally, we'll be working with files with the same name (schema.graphql, or index.js) but are located in different directories. Keep an eye on which file in which subgraph directory you're working on as we go through the course.
Airlock is split up into two different repos, one for the GraphQL server backend and another for the frontend web client.
Running the backend
Let's start with the backend server repo!
Clone the repo.
git clone https://github.com/apollographql/odyssey-voyage-II-server
There's a lot going on in this server, so let's take a deeper look at the folders and services we're working with.
The structure of the server looks like this:
📦 odyssey-voyage-II-server┣ 📂 monolith┣ 📂 router┣ 📂 services┣ 📂 subgraph-template┣ 📄 .gitignore┗ 📄 README.md
We'll go over each directory and its purpose in the following sections!
Navigate to the
monolithdirectory, and install the required packages.monolithnpm installThis also triggers an install for the
servicespackages.
Services
There are five different services required to run Airlock: accounts, listings, bookings, reviews and payments. These services are a mix of REST and direct database services. For the purposes of this course, most of these services will be run locally on your own computer (with the exception of the payments service). This means you'll be able to play around with Airlock features and data in a semi-isolated environment!
Note: For simplicity's sake, all locally-run services are located in the same repo. In a real-world scenario, each of these is more likely to be located in a different repo and owned and maintained by a different team.
| Service | Description | Type of data source | Hosting |
|---|---|---|---|
| Accounts | Manages users, their roles, and their profiles. | REST API | Run locally on port 4011 |
| Listings | Manages listing details, listing ownership, and amenities. | REST API | Run locally on port 4010 |
| Bookings | Manages bookings for listings. | SQLite database | Accessed locally |
| Reviews | Manages reviews about hosts, guests, and listings. | SQLite database | Accessed locally |
| Payments | Manages user wallet amounts and payments. | REST API | Hosted for you |
Running the services
To run our services, we can use a launch script that's available in monolith/utils/launch.js. This script takes care of starting up all the services hosted locally.
In a new terminal in the monolith directory, run:
npm run launch
We'll see a bunch of output come up in the terminal. Each message is prefixed with a color-coded label identifying which service or server the message belongs to. The accounts, listings, bookings, and reviews services should now be running!
We won't be modifying anything in the services directory!
Data sources
Our GraphQL server uses data sources to connect and communicate with each service. Here's a quick summary of each data source:
AccountsAPI: aRESTDataSourcethat connects to theaccountsservicePaymentsAPI: aRESTDataSourcethat connects to thepaymentsserviceListingsAPI: aRESTDataSourcethat connects to thelistingsserviceBookingsDb: a customDataSourceclass that connects to thebookingsservice using SequelizeReviewsDb: a customDataSourceclass that connects to thereviewsservice using Sequelize
We'll be making use of each data source's methods in our resolvers, but we won't need to create any new methods!
Running the GraphQL server
We're using Apollo Server, which is initialized in monolith/index.js.
Our server uses two pieces that are important to our graph:
- the schema (located in
schema.graphql) - the resolvers (located in
resolvers.js)
In a new terminal window in the monolith directory, run:
npm start
Our monolith server should now be running on http://localhost:4000! We're using nodemon for these start scripts so any changes we save to our code will also automatically restart the server.
If you need to manually stop the process for whatever reason, you can press CTRL+C to do so.
Testing a query with Sandbox
Let's test out our Airlock graph! When we open up http://localhost:4000 in the browser, we can query the graph using Apollo Sandbox.
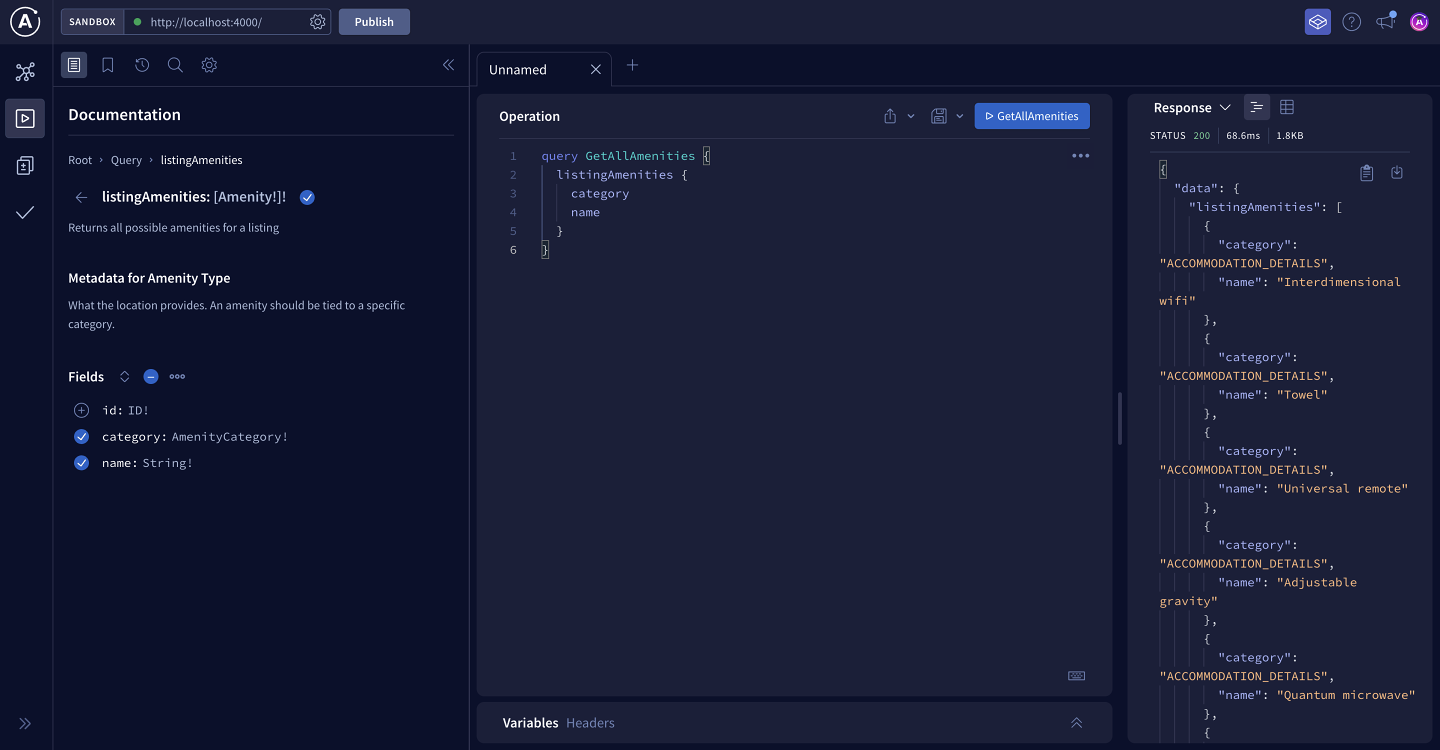
In Sandbox, we'll build a query to retrieve all the amenities that a listing can provide. From the sidebar on the left, we can choose the listingAmenities field. Then for each amenity, we want to retrieve its category and name. Finally, let's rename the query to GetAllAmenities so it describes what it does.
Your query should look like this:
query GetAllAmenities {listingAmenities {categoryname}}
When we run the query, we'll see the results populate on the right-hand section. We can see there are a number of different amenities available for categories like "Accommodation Details", "Space Survival", and "Outdoors".
Feel free to play around with other queries, but note that not all of them may work! Some fields are protected and can only be accessed with the correct authorization permissions. We'll take a look at how to set those later on in the course.
Publishing the graph to GraphOS
Let's make sure this graph and our schema are published to the registry on Apollo GraphOS. While Sandbox is great for quickly running queries against our local graph, we're going to want the full GraphOS experience to explore our supergraph.
First, let's get our graph set up in GraphOS with a monolith architecture. This is Airlock's starting point, after all!
We can create a new graph by clicking the + New Graph button in the upper right corner of the dashboard.

We'll publish our schemas to the graph we create here, so give it a helpful name. Change the Graph Architecture to Monolith. Then click Next to move to the next step.

Note: If you don't see the modal above, you may be on the wrong plan.
From here, we have a few ways to register our schema. First, let's take note of two environment variables shown in the modal, APOLLO_KEY and APOLLO_GRAPH_REF:

Let's create a .env file in the monolith directory to store these.
📂 monolith┣ 📂 datasources┣ 📂 node_modules┣ 📂 utils┣ 📄 .env┣ 📄 index.js┣ 📄 package.json┣ 📄 resolvers.js┗ 📄 schema.graphql
Copy your APOLLO_KEY and paste it in monolith/.env. Because it's an API key to your graph, it'll disappear from this page once we've finished setting up our schema. You can also jot down your APOLLO_GRAPH_REF in the .env file for later use.
APOLLO_KEY=your-graphs-apollo-keyAPOLLO_GRAPH_REF=your-graph-name@current
Warning: For security, environment variables should never be committed to version control. For this reason, this project includes a .gitignore file which specifies that the .env file should be ignored when committing code changes to a repository.
With our environment variables saved, we're ready to share our schema! Click the Local Schema button in the modal. This opens up a text area where we can paste in our existing monolith schema.
Navigate to the schema.graphql file inside of the monolith directory, and copy the entire schema. Back in Studio, paste the copied schema into the text area.

Click Upload to submit your schema. When the page refreshes, we should see an overview of all of our types on the Schema Reference page.

To test things out, head over to Explorer and run the previous query again!
query GetAllAmenities {listingAmenities {categoryname}}
The first time you try to run it, Explorer will prompt you for the URL of your production server. We'll set the Endpoint value to http://localhost:4000.

And we should get data back!

Setting up the Rover CLI
Rover is Apollo's official command line interface, and plays a central role in every supergraph. We'll use Rover commands to publish our subgraph schemas.
If you haven't installed Rover from the previous course, refer to the instructions below!
Rover is Apollo's command line interface (CLI) tool that helps developers work with graphs and interact with GraphOS.

Running the frontend
Time to get the web app up and running!
In a new terminal window, outside of the server repo we set up previously, clone the frontend client repo.
git clone https://github.com/apollographql/odyssey-voyage-II-clientNavigate to the root of the project directory, and install the packages.
npm installRun the app.
npm start
This should open up http://localhost:3000 in the browser. You'll see something that looks like this:
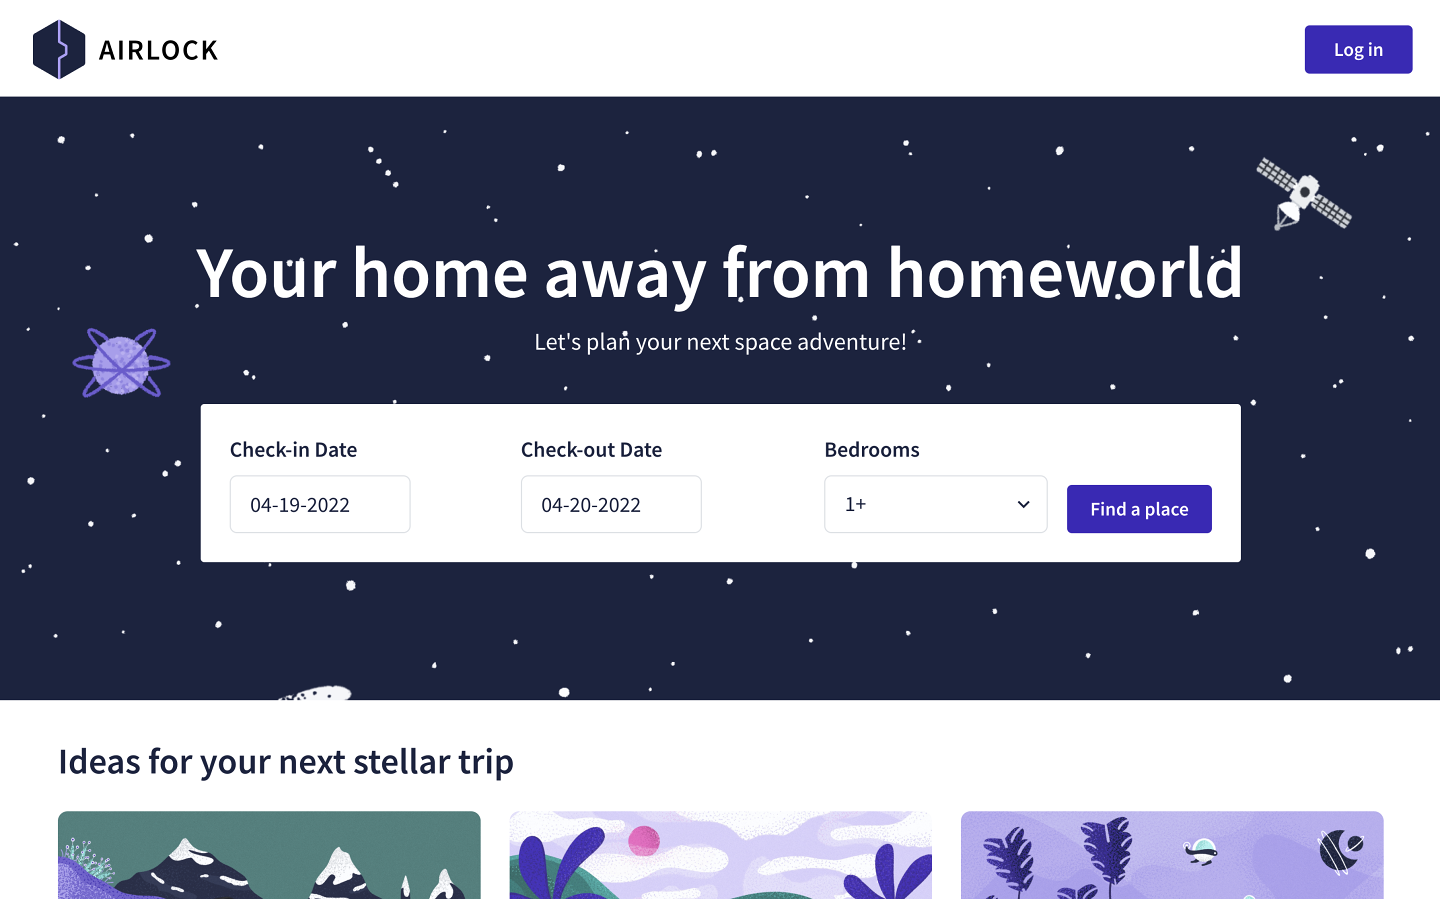
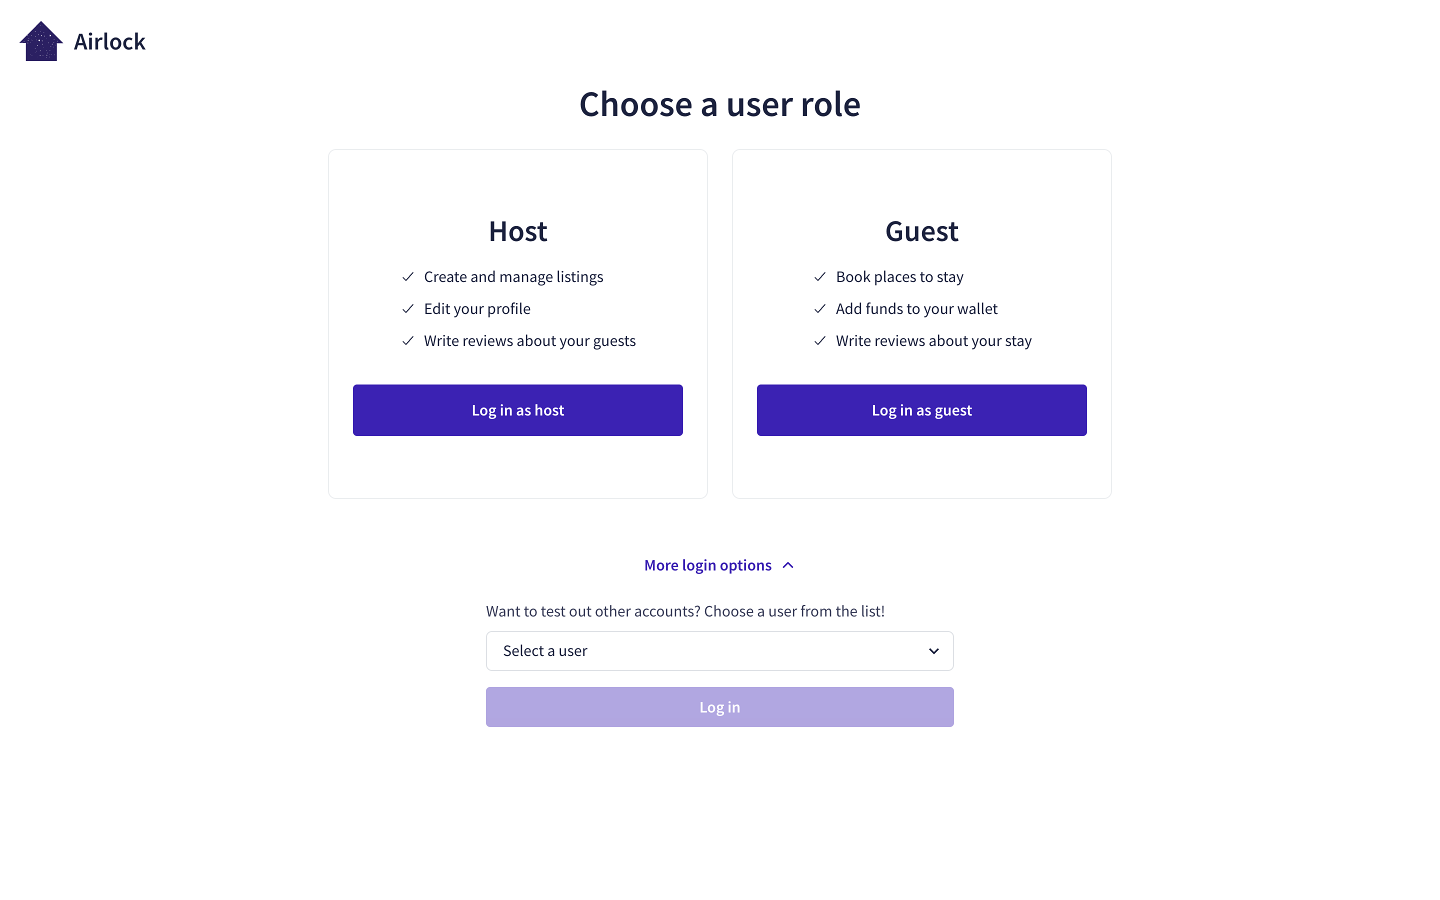
You can use Airlock as either a guest or a host by clicking Log In on the top right and selecting the appropriate option. We also have additional account login options for you to choose from, but generally we'll stick with the main Guest or Host buttons.
To switch to a different account after logging in, click the profile picture on the top right of the page and "Log out".
Up next
And we're all set! Note that we'll be working primarily in the server repo for the course. Now with our development environment running, we can start federating our monolith graph!
Share your questions and comments about this lesson
Your feedback helps us improve! If you're stuck or confused, let us know and we'll help you out. All comments are public and must follow the Apollo Code of Conduct. Note that comments that have been resolved or addressed may be removed.
You'll need a GitHub account to post below. Don't have one? Post in our Odyssey forum instead.